Web Quest Challenge Week: All New Quests!

  As most teachers know, the week before a planned school break can sometimes be a living nightmare, the kids are excited for a few days off and sometimes you can’t help but to start to feel the same. What I did inorder to not get pulled into the “it’s almost vacation!” vortex was give myself a challenge this week. I wanted to keep my brain moving at least until friday and then come in for the two days of school next week only hoping to have fun.I challenged myself to see how many new webquests I could write and I do have to say..I went a little nuts.. but in a good way. It was a nice creative challenge for my brain. Something I could go into work every morning and spend 15 minutes outlining and then type out during my lunch time. These quests are going to be great new challenges for my students, I can print one out and let students take them for extra credit to continue to discover about music at home! I think my #Webquestchallenge week was a great sucess not only producing some new quests but also a really cute iBook that I made for my iPad with all my new and old Quaver quests!

The following are my 5 days of quest entries, most are Quaver but I have a few others mixed in as well from Music Delta, Incredibox, and SFSKids! (The grade level and lessons beside each Quaver quest are suggested curriculum lessons that the quest might go along with)

Day 1:

Quavermusic.com- Chorus (3rd Grade Lesson 4- Identifying Different Voices)

     A choir is a group of people who get together and sing! No instruments other than their voices. Did you know there are 4 different types of voices in a choir? Soprano, Alto, Tenor, Bass. Follow the steps to discover whom a choir is all about!

1.  Head into the shop, but do not worry! You are not there to purchase anything, click on the Jukebox near the guitars in the window and try to find a song that has more than one person singing in it! Do their voices sound the same or different?

2. Madrigals were written hundreds of years ago in the Renaissance and early Baroque time periods and were written to be sung without any instruments, just the singers! They had many voices singing different parts all at the same time! Head to the Phonebox and travel to the Madrigal time period to read the book and answer the questions!

3. Usually choirs sing in more than one part but at the same time. Do you know that we can call that a chord? Head to the Ear IQ carnival in the lab to test your listening skills in the chord game! Try to listen to each individual voice!

4. Now here is your big challenge! I need you to head to QComposer on the stage in the Studio. Using the Chord Builder, build me a C to F to G to C chord progression and then listen to your creation and try to hear each note as it is played. After, try to find and place a C to F to G to C phrase in the bass line to add your 4th voice!

Day 2-

Incredibox.com- Loops/ Vocal Ostinatos

  An ostinato is a short repeated pattern! Can you make your own using Incredibox? Follow the steps below to layer voice ostinatos together and create one rocking tune!

  1. Choose one loop from each section and put it together. Try muting a few or soloing one. Can you hear each voice?
  2. Now mix it up! Take out at least 3 of your guys and put in 3 new ones of your choosing! Do you like how it fits together? If not what do you need to change?
  3. Press the record button towards the top left of the screen and record it at least halfway through. After, press share and share your creation with your teacher!

Quavermusic.com Dynamics- (5th lesson 15, 3rd lesson 18, 1st lesson 25)

  Dynamics make a piece of music more interesting by allowing it to get LOUD and soft at different times. It adds a little spice to turn in a simple melody into a killer tune! What do you know about Dynamics? Follow the steps around the Quaver world to test your skills!

  1. Did you know that the Italian clavichord and harpsichord maker Bartolomeo Cristofori created what we know now as the piano in order to give musicians an instrument to better play loud and soft on? He opened the world of dynamics up to many musicians! Travel back to his time on the Phonebox and read the book and answer the questions to find out more!
  2. Next, head to the Jukebox in the Shop and click on the Shop episode songs. Listen to the Use Dynamics track and sing along to learn more about why we use dynamics!
  3. Here is the test, go to the QComposer on the stage in the studio and get out your composing brain! Using only the treble clef line, create a 4 measure melody where the dynamics change 2 times! Try for one loud dynamic marking and one soft. You can change dynamics by clicking the dynamic button on the bottom left and choosing your dynamic, then clicking where you want the level to change in your melody!

Day 3:

  QuaverMusic.com ( 3rd lesson 8, 2nd lesson 13, 1st lesson 16)  Melodic Contour.

   Many times, a melody flows smooth up and down the staff like a river. Sometimes it goes way up and sometimes it goes way down. Float down the river of directions below to lean about how a melody flows.

  1. We call how a melody moves up and down the staff a melodic contour. Head to the painting easel called Songbrush in the Shop and practice making lines that flow up and down across the staff. Listen to them and hear how the notes go up and down!
  2. You will need a piece of paper and a pencil for this one. Now head to the Jukebox and double click the Classical music in the menu. Choose a song and write the title at the top of the page. Now listen to that song and try to draw a line like you did in Songbrush on the page. Play the song again after you are done and trace the line with your finger. Do you think you followed it?
  3. Here’s your turn to make your own melody that goes up and down like a river on the staff. Head to QComposer and using just the treble clef line create a 5 measure melody using only quarter notes that looks smooth with no big jumps. Save it and play it after for a friend after to see if they can follow along.

    SFSkids.com Composing and Creating

      It’s your turn to be a future famous composer like Bach or Beethoven! Follow the steps to learn how to create a melody yourself.

  1. Head to the Music lab first, you will stay in the lab for this whole quest! Click on The Basics and take notes about different parts of making music. You will need this knowledge for later.
  2. Head to Symbols and practice dragging and dropping different symbols in each area of the melody and pressing play. How do they sounds? What makes each one different? Do they add their own little spice to the melody?
  3. Now you need to visit the Composerizer last to try your luck at creating a beautiful piece of music!

  Music Delta- Beatles

  The Beatles were a very famous pop band that changed pop music forever when they arrived in the US! Follow the steps to learn more about the band from England that changed music.

  1. Click on the History menu at the top of the screen and select Popular. Now on the left click Beatles and read the article right on that page to learn more about their history. Was there anything unique about them? Any funny things that stood out to you?
  2. Now select the Help video from the featured video links to the right and watch the Beatles in action. What makes their performance different than what you see today.
  3. Now up at the top hit the Planet link to be taken to Music Delta Planet and select the England group toward the top left of the globe. Walk your character to the building John Lennon is standing in front of. Let Lennon introduce himself before you enter the building and start playing with the Beatles on the stage. Place them where ever you would like and click play. Experiment with moving them, what

Day 4-

Quaver Music- Tempo (4th lesson 17, 1st lessons 22-24, K lessons 25-27)

      Tempo can be so tricky! Some times a song might go slow, and sometimes it might go fast! Just like a racecar! Let’s discover how to find tempos as we travel around Quavermusic.com. 

  1. You need to turn on your listening ears for this one! Head to the Jukebox in the Shop and find one song that is presto (fast) and one song that is largo (slow.) Write down your findings to share in class!
  2. Did you know that when music first started having different tempos how fast you could go was because of the genre of music you were playing? Head to the Metro and find two different stops that have two different types of tempo. Find a stop that has mostly fast music and one that has mostly slow music.
  3. Now your challenge is to head to QBackbeat in the Studio and create a beat at either Largo, Presto, or Moderato. After click Play-along track and select a track at the same tempo. Do both of the tracks fit together?

Quavermusic- Phrase ( 2nd lesson 14)

       A musical phrase is like a sentence, it has a beginning, middle and an end. You can hear when it starts and when it ends but sometimes it can be a challenge. Lets start turning on our listening ears and find those phrases in the music.

  1. Head to the Metro and travel to the Classical stop. Click the menu and click music. Select the Aquarium from the Carnival of the Animals and try to count how many different phrases you hear in the music.
  2. As we have already said, phrases are like sentences. Go to QSkits in the Shop and come up with a skit that only has 5 different sentences. Sometimes in music it does not have many phrases but still says a lot! Make sure your skit says a lot without really saying many different things.
  3. In QComposer in the Studio click the melody maker and choose 3 different melodies/phrase and place them how you would like in the staff. Can you hear where  each melody starts and ends?

Day 5-

 Quavermusic – Intonation (1st lesson 15, K lessons 10-12)

          Intonation means how accurate you are singing a pitch kind of like hitting a target with an arrow. It takes practice and not everyone can do it! I know you’ll be able to do it. Follow the steps to practice your accuracy.

  1. How smart your ears are is a big deal with intonation! Travel to the Lab and click on the EarIQ carnival. Practice the Pitch and Interval games to train your ears!
  2. Now it’s time to practice your accuracy, what is better than a little target practice? Head to the music room and play QSplat in the arcade!
  3. Time to compose and sing! Prance over to the Studio and head to QComposer. Using only the treble clef create a 2-measure melody practicing how to sing the notes as you place each one. After hit the play button and practice how to sing it!

Quavermusic- Theme and Variation

          Every song has a theme or a specific melody; sometimes that theme is changed to create a variation on that melody! There can be one theme but more than one variation. Explore Quaver using the step below to find out more!

  1. Dance on over to Songbrush on the Shop to create a masterpiece! This is your theme, play it and then change it just a little bit, listen to your first variation and then change it again. How do your variations sound compared to your theme?
  2. Now to head to the Jukebox in the Shop and double click the Shop Episode songs in the menu, listen to the B Section Baby song! Did you know the B section in a song is like the variation and the chorus of a song is the theme!
  3. Here’s the test, go to QComposer on the stage in the Studio, use only the treble clef line and place four quarter notes in the first measure. Now take those 4 quarter notes and figure out what the note names are those are the only four note names you can use now! In the second measure take those same four notes and change them up, then do the same in the third. After, copy your first measure in the fourth measure. Listen to your creation! Do you hear the theme in measures in one and four and the variations in measures two and three?

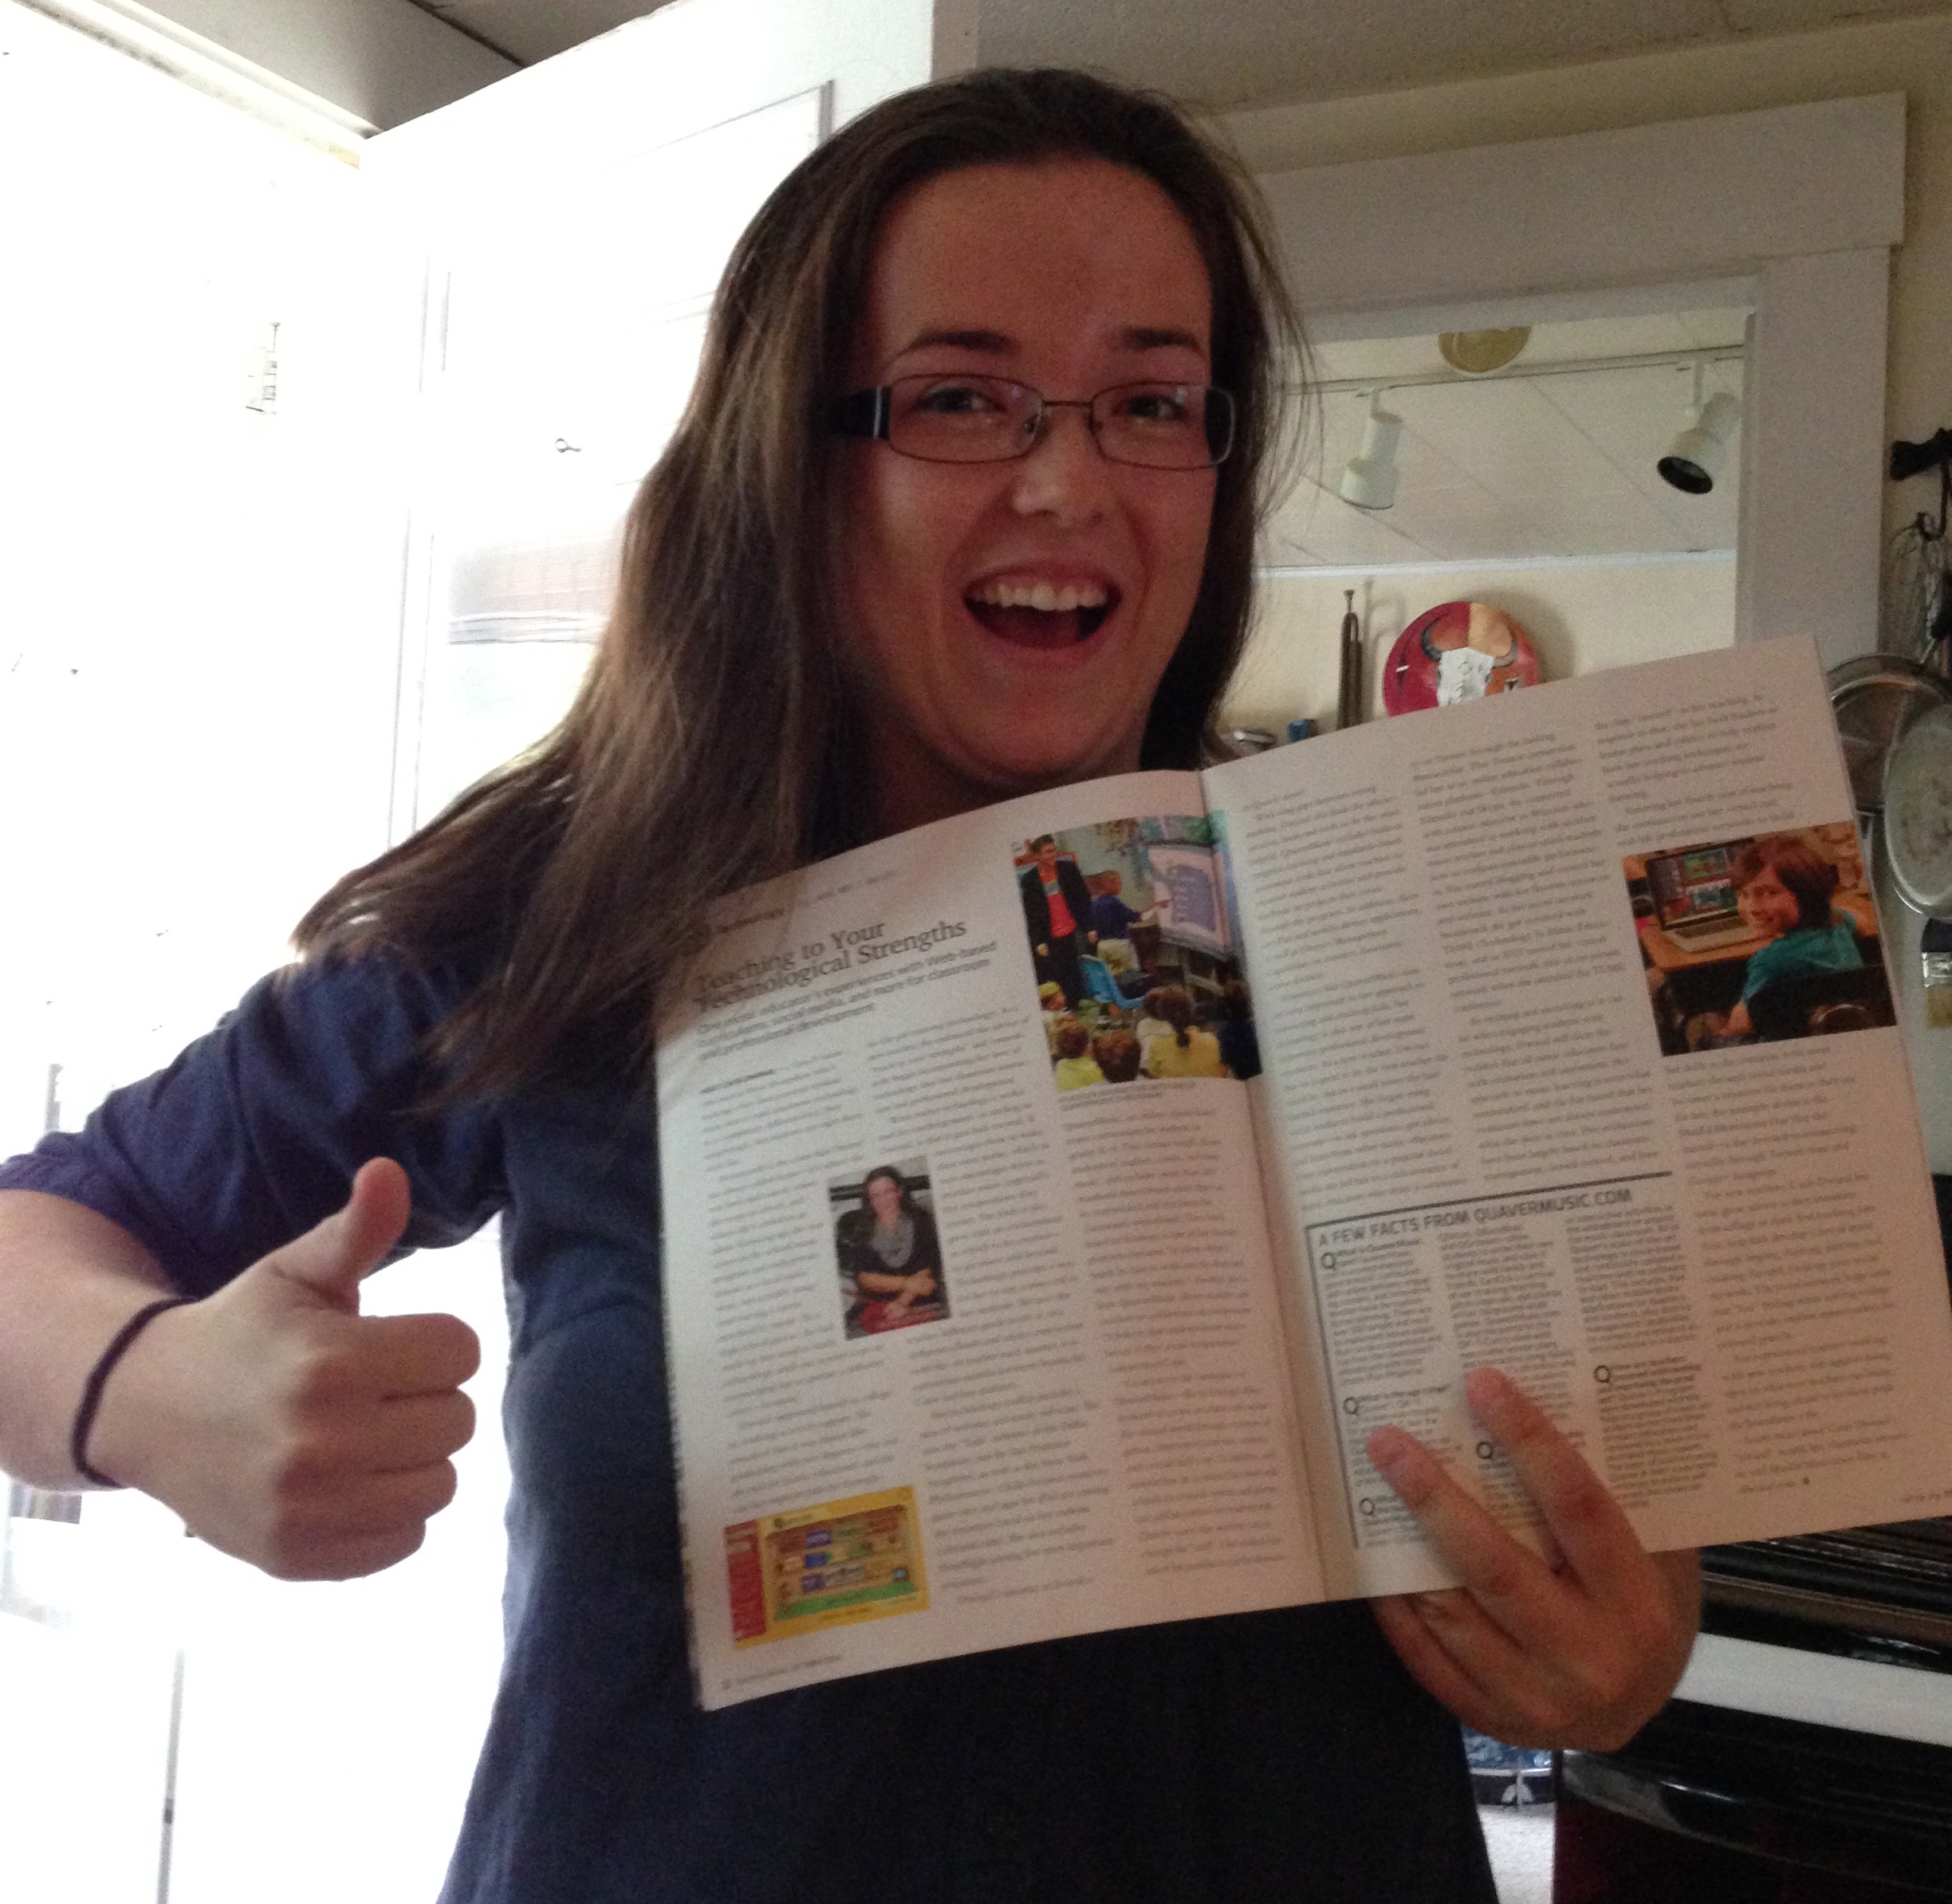
I created a book..  after all of this quest writing this week I went a little further with my Quaver quests and used iBooks Author to create an iBook with all 26 of my Quaver quests I have written. With 90% of the quests now are suggested lessons in the curriculum that the quest might be a nice homework or extra credit assignment for. They also might be fun for a full class of younger students to do together as a nice before vacation activity.

bookphoto

Proud of my little book!

  I created the book as a way to keep all my quests all in one little place and have no plans to hit the publish button myself or share the full book online in a public place. If you are interested in a copy you can email me at dwinalc@yahoo.com and I would be more than happy to share it privately with you!
 

How to Quest: A Video Walkthrough

  Now that my switch to school #2 is starting to calm down. I can start to focus on how I am going to change-up and improve the rest of the year hoping to continue the good streak that I am on! I sat down and went through my curriculum trying to align it with the Quaver curric that I am using and acquired a few ideas. I’m trying to get better about posting how-to videos and walkthroughs. I’m not the greatest at recording myself but hopefully it will change with practice!

  Posted is a video I  created using Quicktime Player (my apologies for the audio troubles in the beginning, this is the first time I’ve used the Quicktime Player recording feature) showing you how I walk through a Quavermusic.com webquest with the kids. I started writing these a few years ago and write new ones occasionally. After trying out the free items Quaver had to offer I just had to get more and now I have the whole family of programs and enjoy every minute. So try out this brand new quest created just for this post, I guarantee you’re going to love it so much you’ll be hooked on Quaver for good.

Patriotic songs:

What does the word patriotic mean to you? The meaning of the word is: for the love of one’s country. Patriotic songs were written just for that purpose, to celebrate our country. We have many patriotic songs about America but how many do you know? A lot of them were written many years ago and some have started to be sadly forgotten. Follow the steps below to discover more about the tunes we use to celebrate the United States of America.

1.) Francis Scott Key wrote the words to our national anthem The Star Spangled Banner. He wrote them right after he watched a battle during the War of 1812 take place. I want you to travel back to his time in the Phonebox and click menu. Select the music player and click the Audio Drama. Now close your eyes and put yourself in Mr. Key’s shoes, does his inspiration inspire you?

2.) We consider a lot of our patriotic tunes to be marches. John Philip Sousa was considered the king of marches. Go to his stop in the Phonebox to listen to one of his most famous pieces Stars and Stripes Forever. What do you think the title means? What can you picture in your head as this song plays?

3.) Now it’s your turn to be like Sousa and Key. Go back to Francis Scott Key’s time in the Phonebox and go back to that music player. Choose Yankee Doodle and listen to the tune, can you write some words to go along with the melody of Yankee Doodle? Write it down on a nearby piece of paper and try to perform it!

Are you teaching patriotic songs in your classes? How do you teach them? Are their ways you could see yourself using this quest for your lessons?

Playing with an Apple TV

  So I am pretty excited, I have moved to school number 2 for the next quarter and have found time to actually start playing with some really cool new tech tools to use in the classroom! I cannot wait to start using them and I am very sure I will be blogging about them soon!

Last week I composed a blog about using Bluetooth as a way of sending music to an output devices as a way to use your device and move around and not have to stay connected to a cable at the front of the room. This week I wanted to show you how I use my Apple TV for the same purpose but instead of sending music I send visuals from my iPad that can be projected to the screen so the whole class can see. You can use new apps like Reflector to do the same sort of thing but I rely on my Apple TV because it is easy for me to connect and reliable with my wireless network set up at my school.

IMG_0005

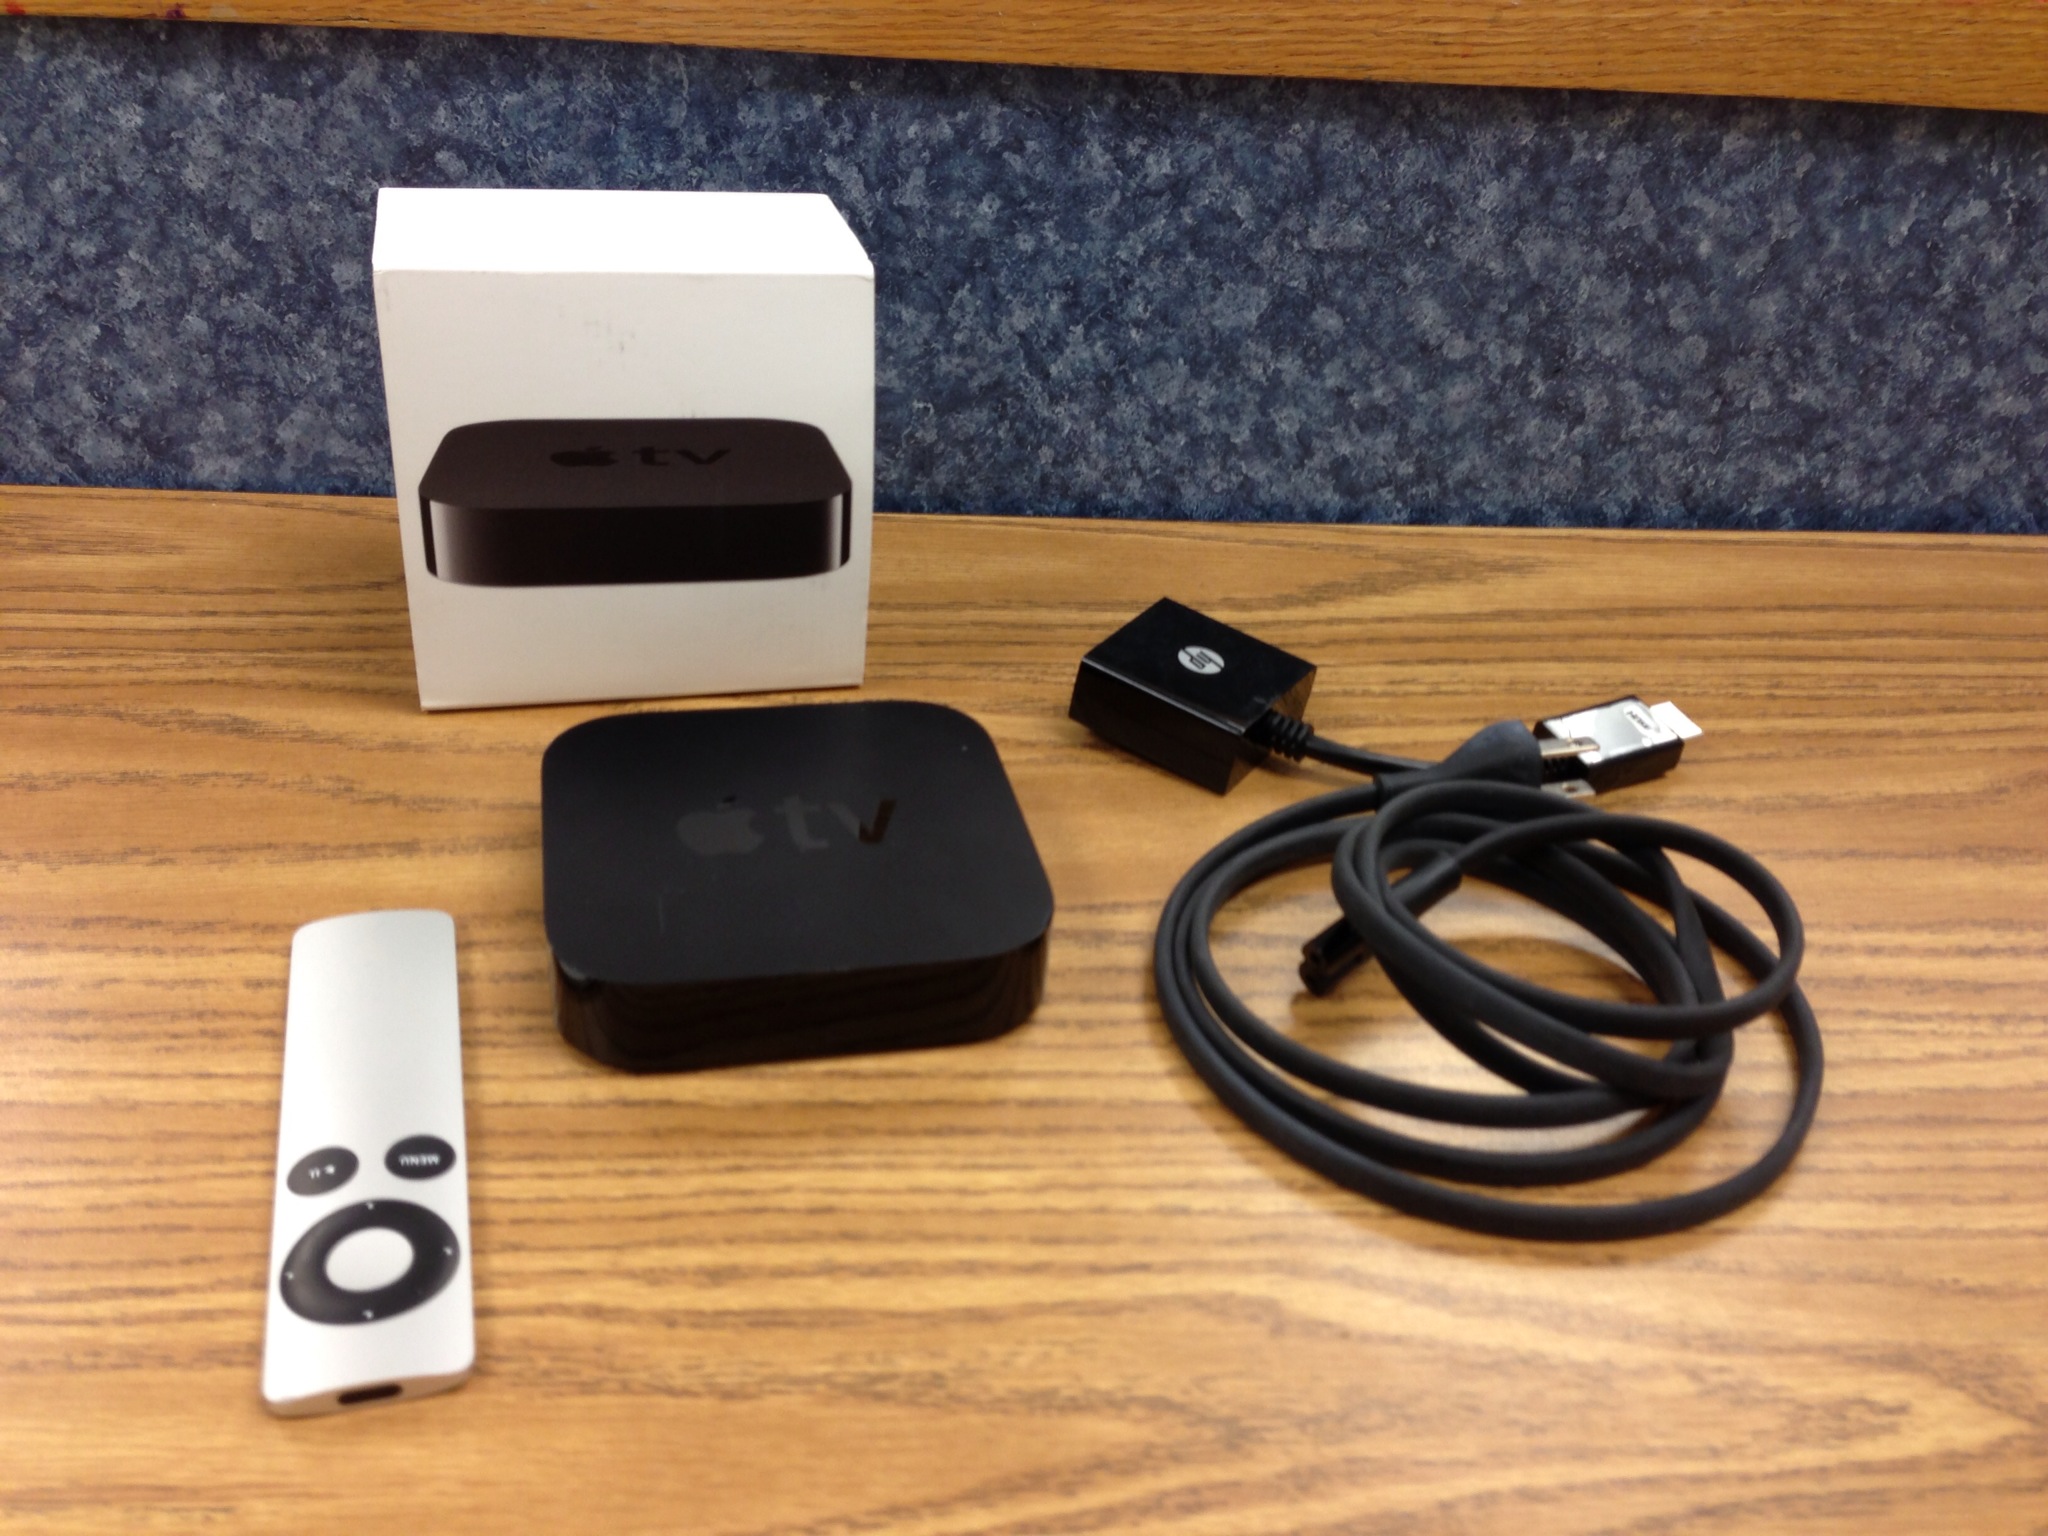
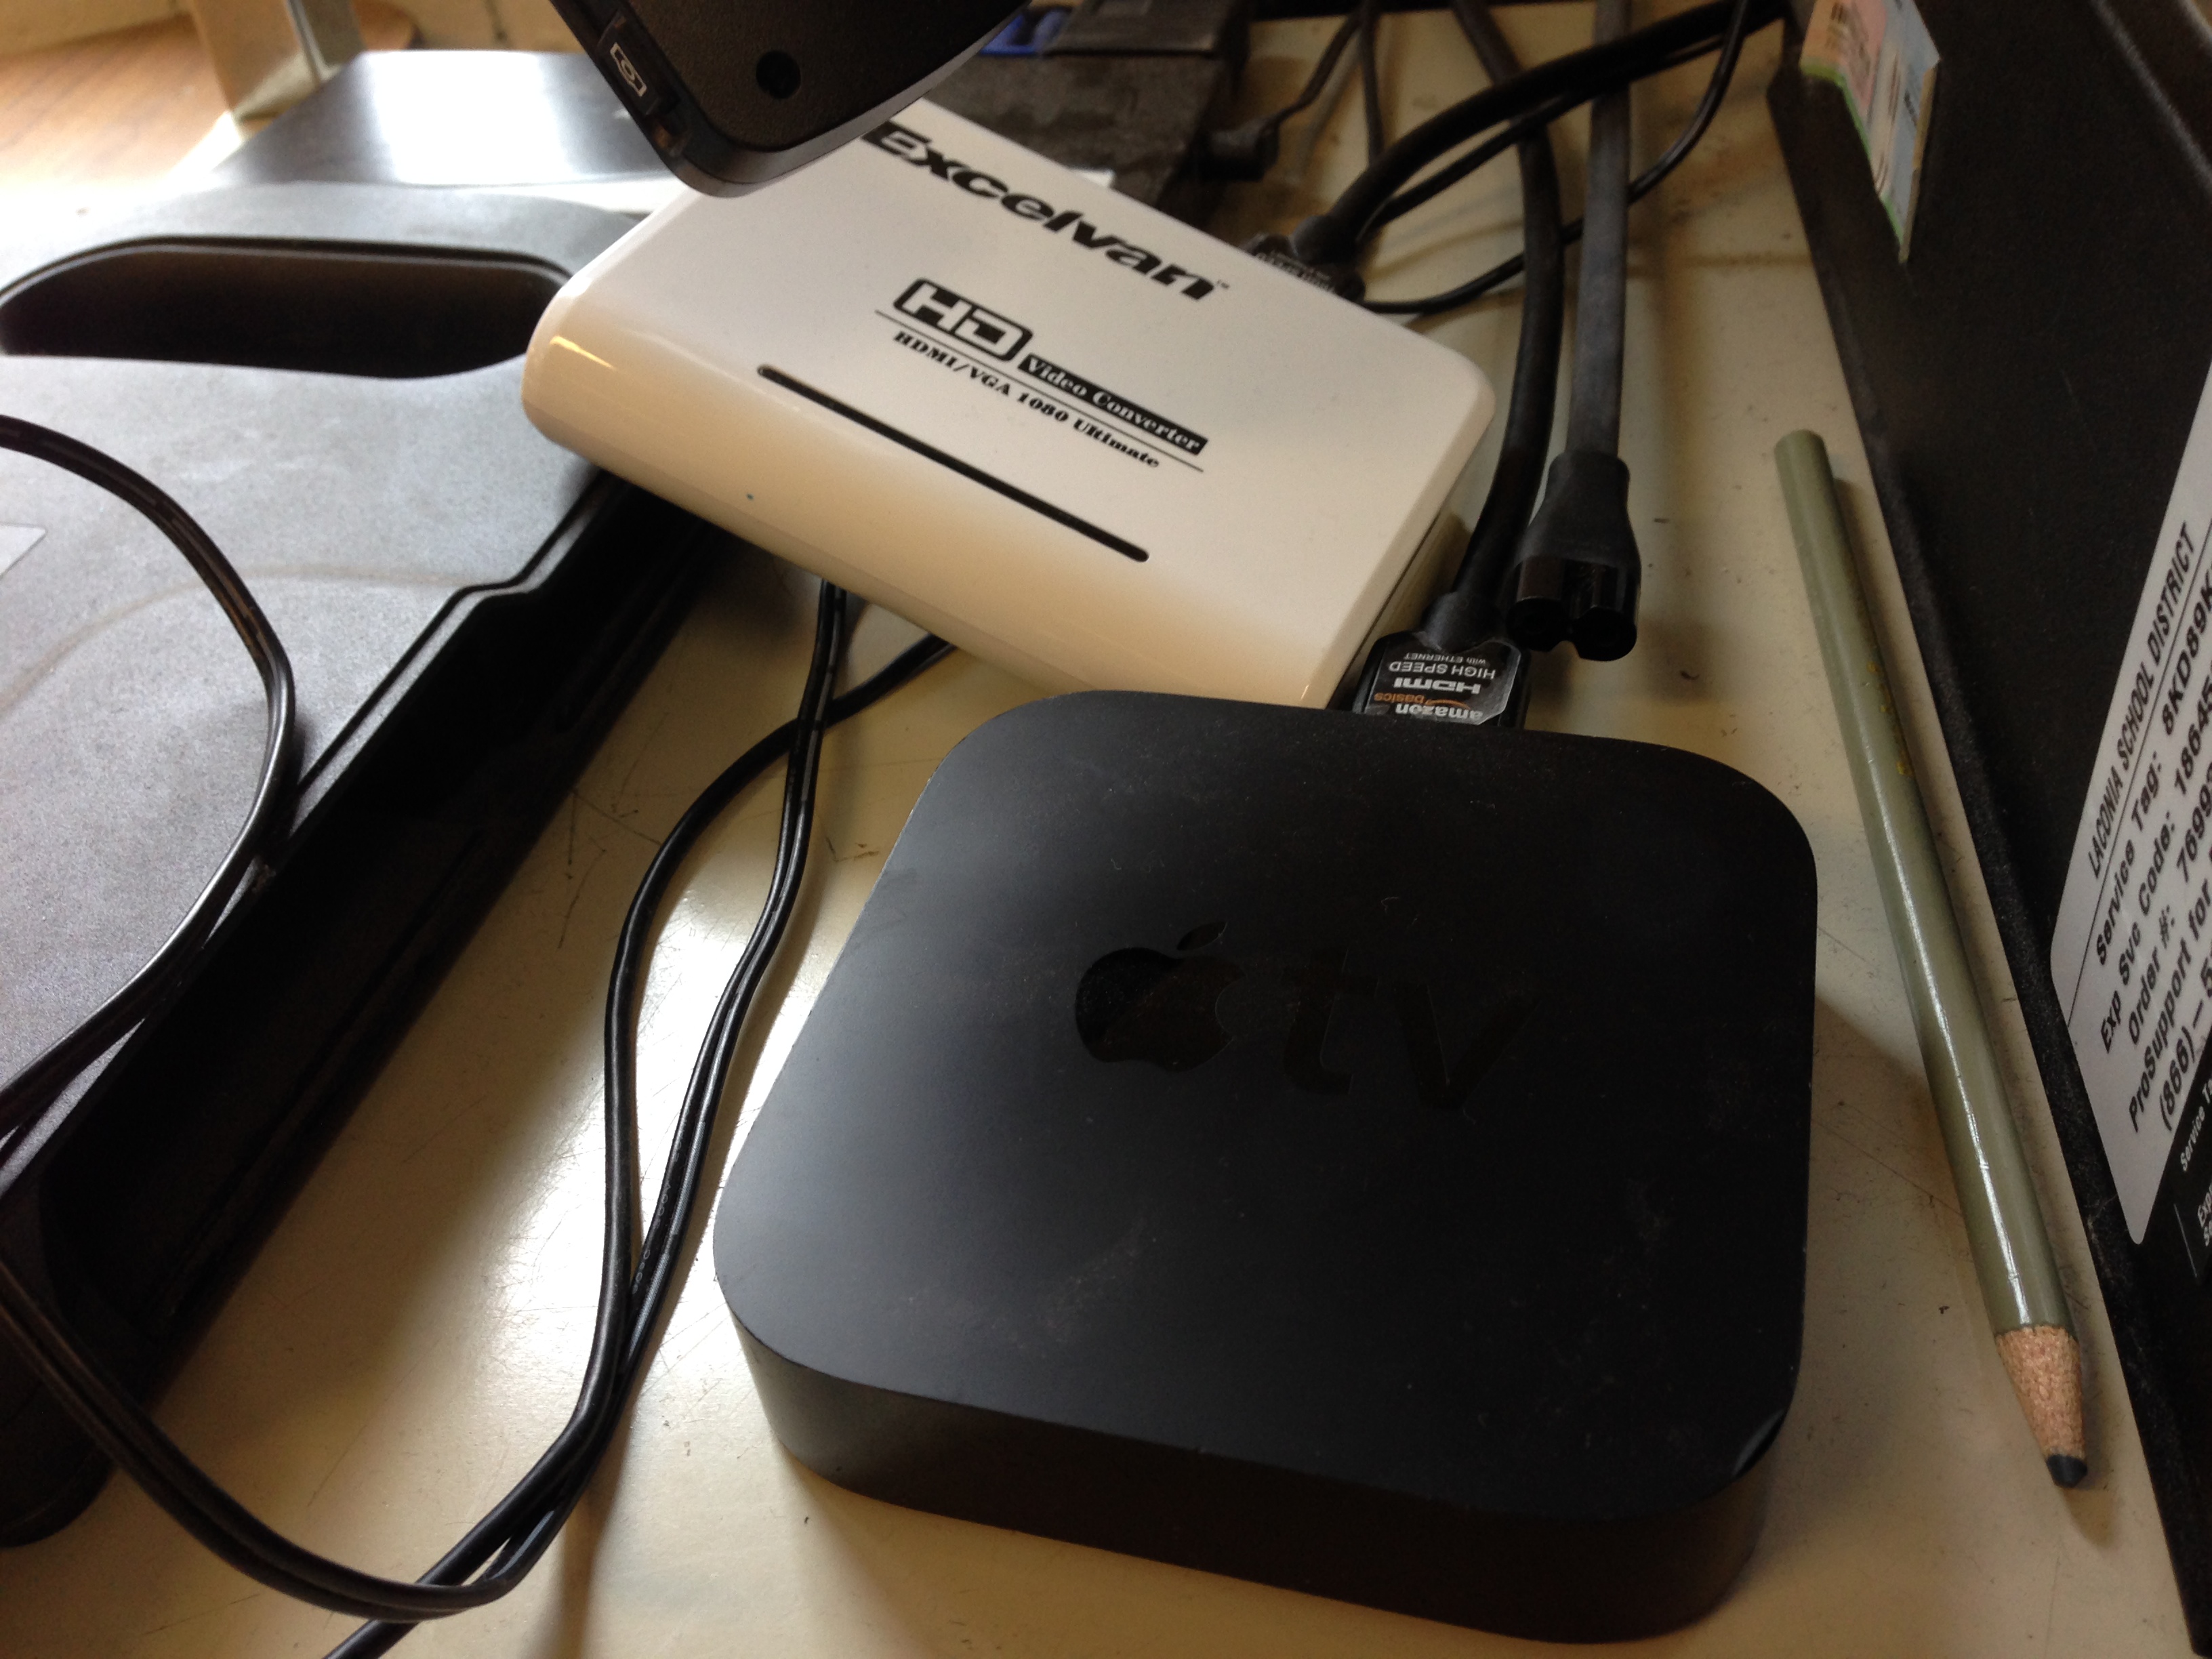
To set up your TV at school you first need to figure out, Do I have a projector that has an HDMI setup? Do I have a projector that has a VGA setup? Or am I using a TV? I have a VGA projector so I need a video converter box I bought off Amazon for about $30. This box allows my video and audio to be converted so it can play on my VGA projector.

Copy of ATV

Into that box I need to plug in the HDMI cable from the Apple TV, the power cord, the VGA cable to the projector, and the audio jack from the back of the computer. Once those are plugged in and the power cable to the Apple TV is plugged in the TV should turn on and be visible on your projector screen. After you are connected using the remote you can navigate the screen to connect your Apple ID so you can play your music, connect your Youtube ID to play your playlists, and my favorite, you can mirror your iPad to the screen using Airplay. There are two ways to turn on Airplay depending on the iOS you have running on your device;

iOS6 or earlier: Double click the home button and swipe all the way to the right to get to the Airplay menu. Touch the Airplay button and select the device you want to connect to. After hit the toggle switch to turn on mirroring and your iPad should then be visible on the screen.

iOS7 or later: Swipe using 1 finger from the bottom of your device up to reveal the tool menu. Right next to the button that is labeled “AirDrop” should be the Airplay button. Hit that button and select the device you would like to connect to  and do not forget to turn on the toggle button to turn mirroring on. After your iPad should be visible on the projector.

photo 1

photo 2

After you have connected your iPad you can now walk around the classroom and show your students exactly what you are doing on the iPad. This is great especially for classroom management. I can be teaching from the floor next to some of my favorite students and not have to stop class to keep my favorite students focused. It is also great for 1 iPad classrooms! All of the students can see and share the one using it sort of like a Smartboard Slate.

I use this tool a lot when teaching from my iPad, my students love to use Toca Boca Band, Garageband, Dolce Music Flashcards and I have all kinds of instrument apps we can use together.

This tool helps me replace a Smartboard. I do not have one in my classroom so my Apple TV is a cheaper solution!

  Do you have an Apple TV? How do you use it with your students?

How to Play Music Over Bluetooth

Another installment in my “how to” series. If you have any suggestions or need any help feel free to get in contact with me through comment on here or through this blog’s new Facebook page www.facebook.com/Celticnovelist I love new visitors!

There are so many different ways to play music tracks in your classroom now, the possibilities are endless. Most have involved plugging your music device into something, whether it be a dock or an adapter. Now though, with emerging technologies you have the option of connecting your device using bluetooth (a capability that allows music from the device to stream wirelessly to an output device. I can walk around my room with my iPod in my pocket running class and be changing songs while not tethered to the front of the room)   The only iDevices that have bluetooth capabilities are the newest nano, the iPhone, iPod touch, and any iPad 2 or newer. There are many devices you can use to transmit from your bluetooth device to an output. In my classroom I have an Apple TV that is hooked up to my projector speaker system

IMG_0005

and an Ion BlockRocker

securedownload

both are reliable and allow for me to just turn them on and connect within seconds. This also allows me to hide my iPod in my pocket so I do not have any sneaky students trying to change the song on me! To use your bluetooth first make sure your output device is turned on and ready to accept a new pairing. After you have basically two options to turn on your device. The first one will work if you have the newest iOS for devices. First turn on your device and then with one finger quickly swipe from the bottom up and a tool bar will appear:

IMG_1565

hit the button on the top right in the center to turn on your device and then swipe down. If you’ve already paired your device before with your output device then sometimes it will automatically connect. Other times you might need to go into your settings app:

securedownload

and hit the bluetooth option:

securedownload

make sure the toggle at the top is turned on and then hit the device you would like to pair with. I have three because I can connect to two different car systems and then my block rocker. Devices you have paired with before will show up in that list. If they are on and within reach then they will say connected.

Are you connected yet? I love using bluetooth in my room. I have several devices and now can use them whenever I feel like with just the push of a couple of buttons. There has been many days I’ve forgotten my iPod and used my iPad or I’ve downloaded a song on my phone but haven’t had time to send it to my school iPod. The biggest thing is the freedom to move. I cannot tell you how awesome it is to be able to walk around the room managing my classroom when needed and if I need to stop a song or change it I can do it wherever I am without diving back to grab my iPod before it turns to something else. One less stress!

Bluetooh is just one way to play music in your classroom, how do you play music in yours?

How to Create a YouTube Playlist for Class

  So I’ve been thinking of new things to incoorporate into this blog every once in a while and after recieving technical questions after my NHMEA workshop I decided I would do a little mini series on short and helpful tech tips to do all the things I describe about in this blog. (I was also inspired by the Quavermusic Blog’s monday tip series, Thanks Abby!) So over the next few weeks I will be posting helpful and technical tips on how to make technology easy and work for you so you can use it without hesitation in your classroom.

    As I’ve learned over the past few years, YouTube videos have become more and more useful when showing them in class. They are great visuals for students to actually see what you are talking about and are easy ways to get music performers into your classroom without the big bucks and all the time. What some teachers get frusterated with is the fact that they start to accrue more and more videos to show and to search through all of them for the right one becomes a big mess and wastes time especially if you are in the middle of class, that’s when the playlists come in. I have several that go with different lessons so they are easy to find and can play one right after the other. If you are interested in checking out the playlists I have created click the following to my YouTube Channel: http://www.youtube.com/user/celticnovelist/videos?view=1&flow=grid

 To Make A Playlist:

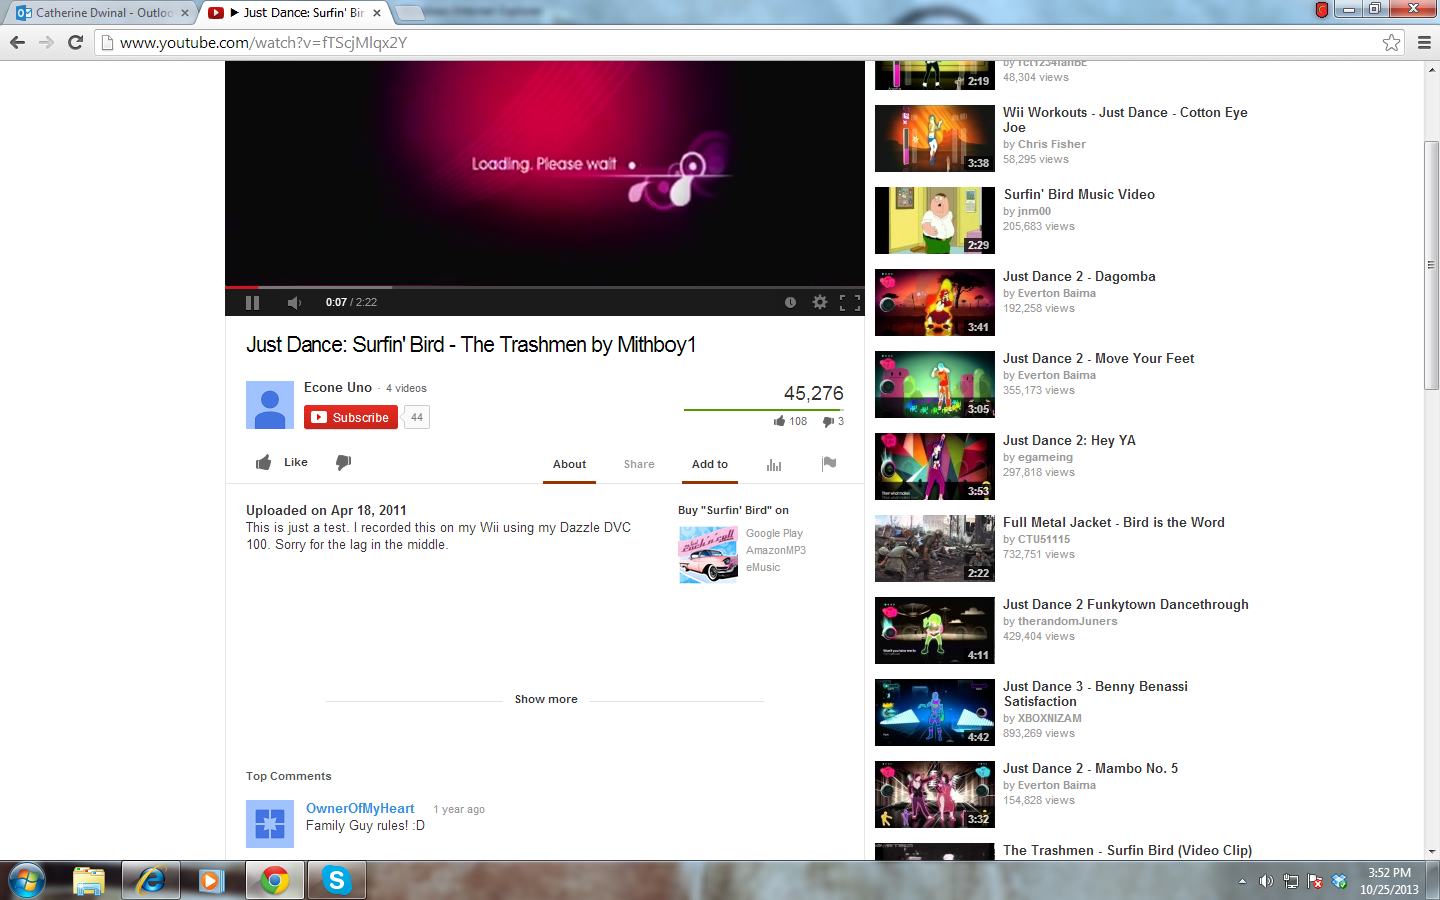
  To make a new playlist can be quite easy once you get going. First, make sure you have created a YouTube profile and find a video you would really like to save for later. I’ve used the Just Dance Surfin’ Bird video because..well..the bird REALLY IS the word. Once you get to a video you would like to save, underneath the video there are some options. Click the words Add To

1

   After you have hit add to, in the middle of the window just below the video there is now a list of playlists you have. Find the box under the list where you can type in a new playlist name. It should be right below it.

2

   Once you have found the box, type in a new name for your new playlist and decide whether you would like it a public or private list. After you have made your decisions click Create Playlist.

3

   There! You have created a playlist! Once you find another video repeat the first step and instead of creating a new playlist just select the playlist you would like in the list and it will be added. To visit your playlists or to edit them click on your profile on the upper right of the screen and a list of your playlists will come up. You can click on them there to play them but if you want to edit, click on the video manager link that is close to your profile information.

4

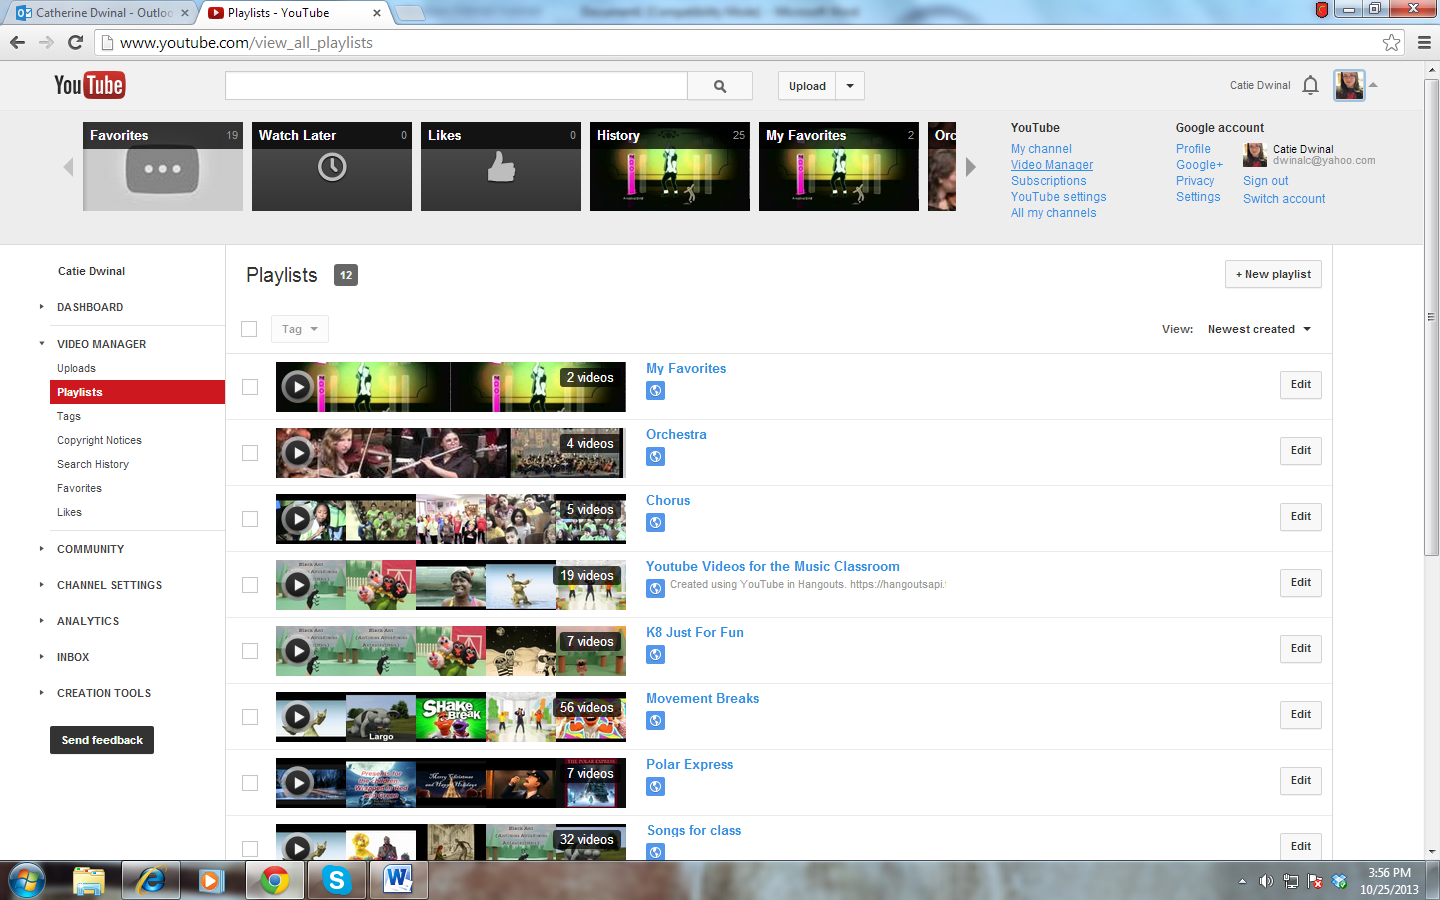
 Once in the video manager, to get you editing your playlists you need to click the Playlists link on the left hand navagation bar and that will bring you to the screen where you can delete, change descriptions or the title, or even adjust start times for each list you have.

6

   Now you are probably to the point where you have an AMAZING playlist, ready to share it? Go back and click on your profile on the upper right corner to get your lists and click on the one you would like to share. Now instead of hitting Add to again, hit Share which is right next to it and that will provide you with the link to send to others or the option to share it to the social media site of your choice.

7

That should be it! A simple way to create a YouTube playlist. I will be back next week with another walk through of another tool. Have a request or a question? Leave me a comment or like this blog’s new Facebook fanpage www.facebook.com/celticnovelist and leave me a comment there!

NHMEA Octoberfest: First Presentation of the Season

   This week has been nuts! Not only was it a short week, I also had a grade level show in the evening on Wednesday and then flipped  right around and headed to present at SNHU for NHMEA’s Octoberfest conference on Thursday and then came back to school today to teach. Next week I have two more events I’ll be attending or directing and then the week after I have a virtual call with a college class setup..whew! Is October over yet?  What I wanted to blog about this week was my experience presenting yesterday at Octoberfest, it was my first time presenting this season and first time presenting to my in-state collegues!

    Octoberfest itself is a full workshop day. We started out listening to NAfME’s wonderful President Nancy Ditmer give the keynote speech and then followed it with 2 interest sessions, lunch (I got to sit and talk with with Nancy and our NHMEA President Sandi Howard!), and then another 2 interest sessions before the all-member meeting which closed out our day. Other than presenting I attended Ms. Ditmer’s session on teacher health and avoiding burnout which was fantastic, I loved the small circle and how it was a discussion with her. I also rocked out in a world drumming session with Phil Martin and picked up some pointers for when I drum with my kiddos, and then ended with Eric Kobb talking about how he formed his iBand! I got some great tips and tools to use with my own group.

Ditmer

     I was very excited to present my session and extremely nervous. It was the very first time I would be presenting to my collegues and friends in state. I have done MMEA, I’ve done TMEA, I’ve done Christa Maculiffe, but never NHMEA. My session focused on why you should be integrating tech into your elementary music classroom, some great ways how, and a plethora of resources you can use. Including a big chunk of QuaverMusic which I was lucky to have been sent brochures for the program that went out with my handouts. It has probably been one of my best put together sessions I have done yet. I did run short on time but that was because of how invested my 35-40 participants were in the session. I had a lot of great questions and went longer because of the discussions we were having. I don’t think I have had a room yet that was so animated with laughter, oohs, ahhs, and smiles. It made me get silly and have more fun myself. Things that Iwas planning to really just skim over they wanted to see even more of (I will admit I Sid Shuffled a little http://www.youtube.com/watch?v=ycq_E6sN3CI&feature=share&list=PLoGcukJlyfnJsj9n-9u_JKFmO1c5Tz6GS). I got to talk about my favorite resources I use, why I integrate and how to do it in a way that is beneficial for students, and boast about some of my sucesses with technology  in my classroom. After I ended it was a great feeling to have so many people come up to say hi and talk. I was excited to hear so many of them say they will be in contact with me soon for help and even one person asked to come observe!. Hearing things like that is exciting. I love music and I love technology and helping music teachers like myself learn how to use it is my passion.

       I have found I love presenting and teaching music teachers how to use technology in a meaningful way, being told I am “inspiring” is such a cool feeling. I am in year two in the presenting world and really could do this all of the time if I was given the chance to. Getting up and speaking about what I know from the heart is not only an adrenaline rush but also makes me feel good and feel like I am helping others. I of course love my students and love to teach them, but teaching teachers is a whole different experience, one that I’ve found I love to do. I’m hoping my presenting schedule turns out like last year. I only signed up for two conferences in the beginning but got asked to do some and ended up with at least 5 different conferences. Right now though, I have to anxiously await for TMEA/TI:ME in February!

Would you like my session materials from NHMEA Octoberfest? Visit my websites conference page by clicking here 


KTlittleblackdress

Of course my new presenter outfit was pretty fun to wear too 😉

A Reflection on a Skype Connected Music Classroom

Have you ever sat back and just enjoyed your hard work? Have you ever realized pushing yourself just a little bit more than what you want will bring even more joy? This week I reflected on a project that has been hard work for me this year, but now that I’ve had time to sit and enjoy it I’ve realized I’m changing the norm for music class in my district.

So far this year my class has connected with 3 classes from different parts of the world. My 4th grade has connected with England to sing a song for World Peace One Day, and 2 of my 2nd grade classes have connected with a class in New Jersey, and another class in Canada to sing songs in their upcoming show. Each connection even better than the last. To connect other parts of the world with my classroom all I need is:

  • A Computer with Skype
  • A Microphone
  • A Webcam

Thats all I need to have a lesson that can make the toughest class have the best day because they are so excited to see students in a different part of the world. To anyone it is exciting, they get to experience new and the old becomes interesting again. After one Skype call today I had a student shout out “Can we play that game they just did???” The smiles seem to last for days and the talk about it won’t end.

Venturing out into fairly new territory always comes with its challenges, in only 3 calls into this year I’ve learned ways to make my calls better:

  • Always do a test call before the actual call date, you never know if something will not work with a certain connection.
  • Make sure you write down in a calendar when you are Skyping so you don’t accidentally plan one for the same time OR plan on on a day you are headed to present at a conference!
  • When trouble arises, have extra silent work for those students who can’t be on camera to do away from the group.
  • Always invite an entire grade level to a Skype call, you never know if they will be up for joining in!
  • Make sure you share with your administration about your calls, its not every day this happens!
  • Converse with the other teacher about how you want to go about the call, there are different ways you can do it such as : A song share (Where each class sings a song for each other and asks questions), a performance (if you have a class preparing for a show, getting a different audience can be just the thing to get them to practice!), a mystery Skype (Each class tries to guess where the other class is, you could relate it to musical styles or where composers lived).
  • Prep the students before hand! They do not know how to act during a call if they have never done one before. They need to know what is going on and be prepared for anything to happen. I prepare my kids as soon as I get a call solidified.
  • Make sure you send thanks in return! Keep built bridges standing incase you would like to use them again!

IMG_1201

With 3 calls down and at least 3 more to go just this quarter with schools in Illinois, Knoxville Tennessee, and New Jersey again. I have set my sites high to 15 total calls this year with my classes. It’s a blessing I can do so many of these with my kids, and I feel even more connected to my colleagues across the world. Technology is ever changing, 10 years ago we couldn’t do this, but now its a whole different ball game. If we can connect so closely with classes so far away now, how is technology going to enhance that another 10 years from now?

IMG_1306

Have you checked out how else I stay a connected educator in this month’s Teaching Music Magazine published out by NAfME? Page 22!!

Starting an iPad Band, at the Elementary Level.

   I feel a little out of sorts this week, I’m off across the northern border this weekend and won’t return until Sunday which resulted in trying to think of an early post! Hope you enjoy thoughts on my new challenge!

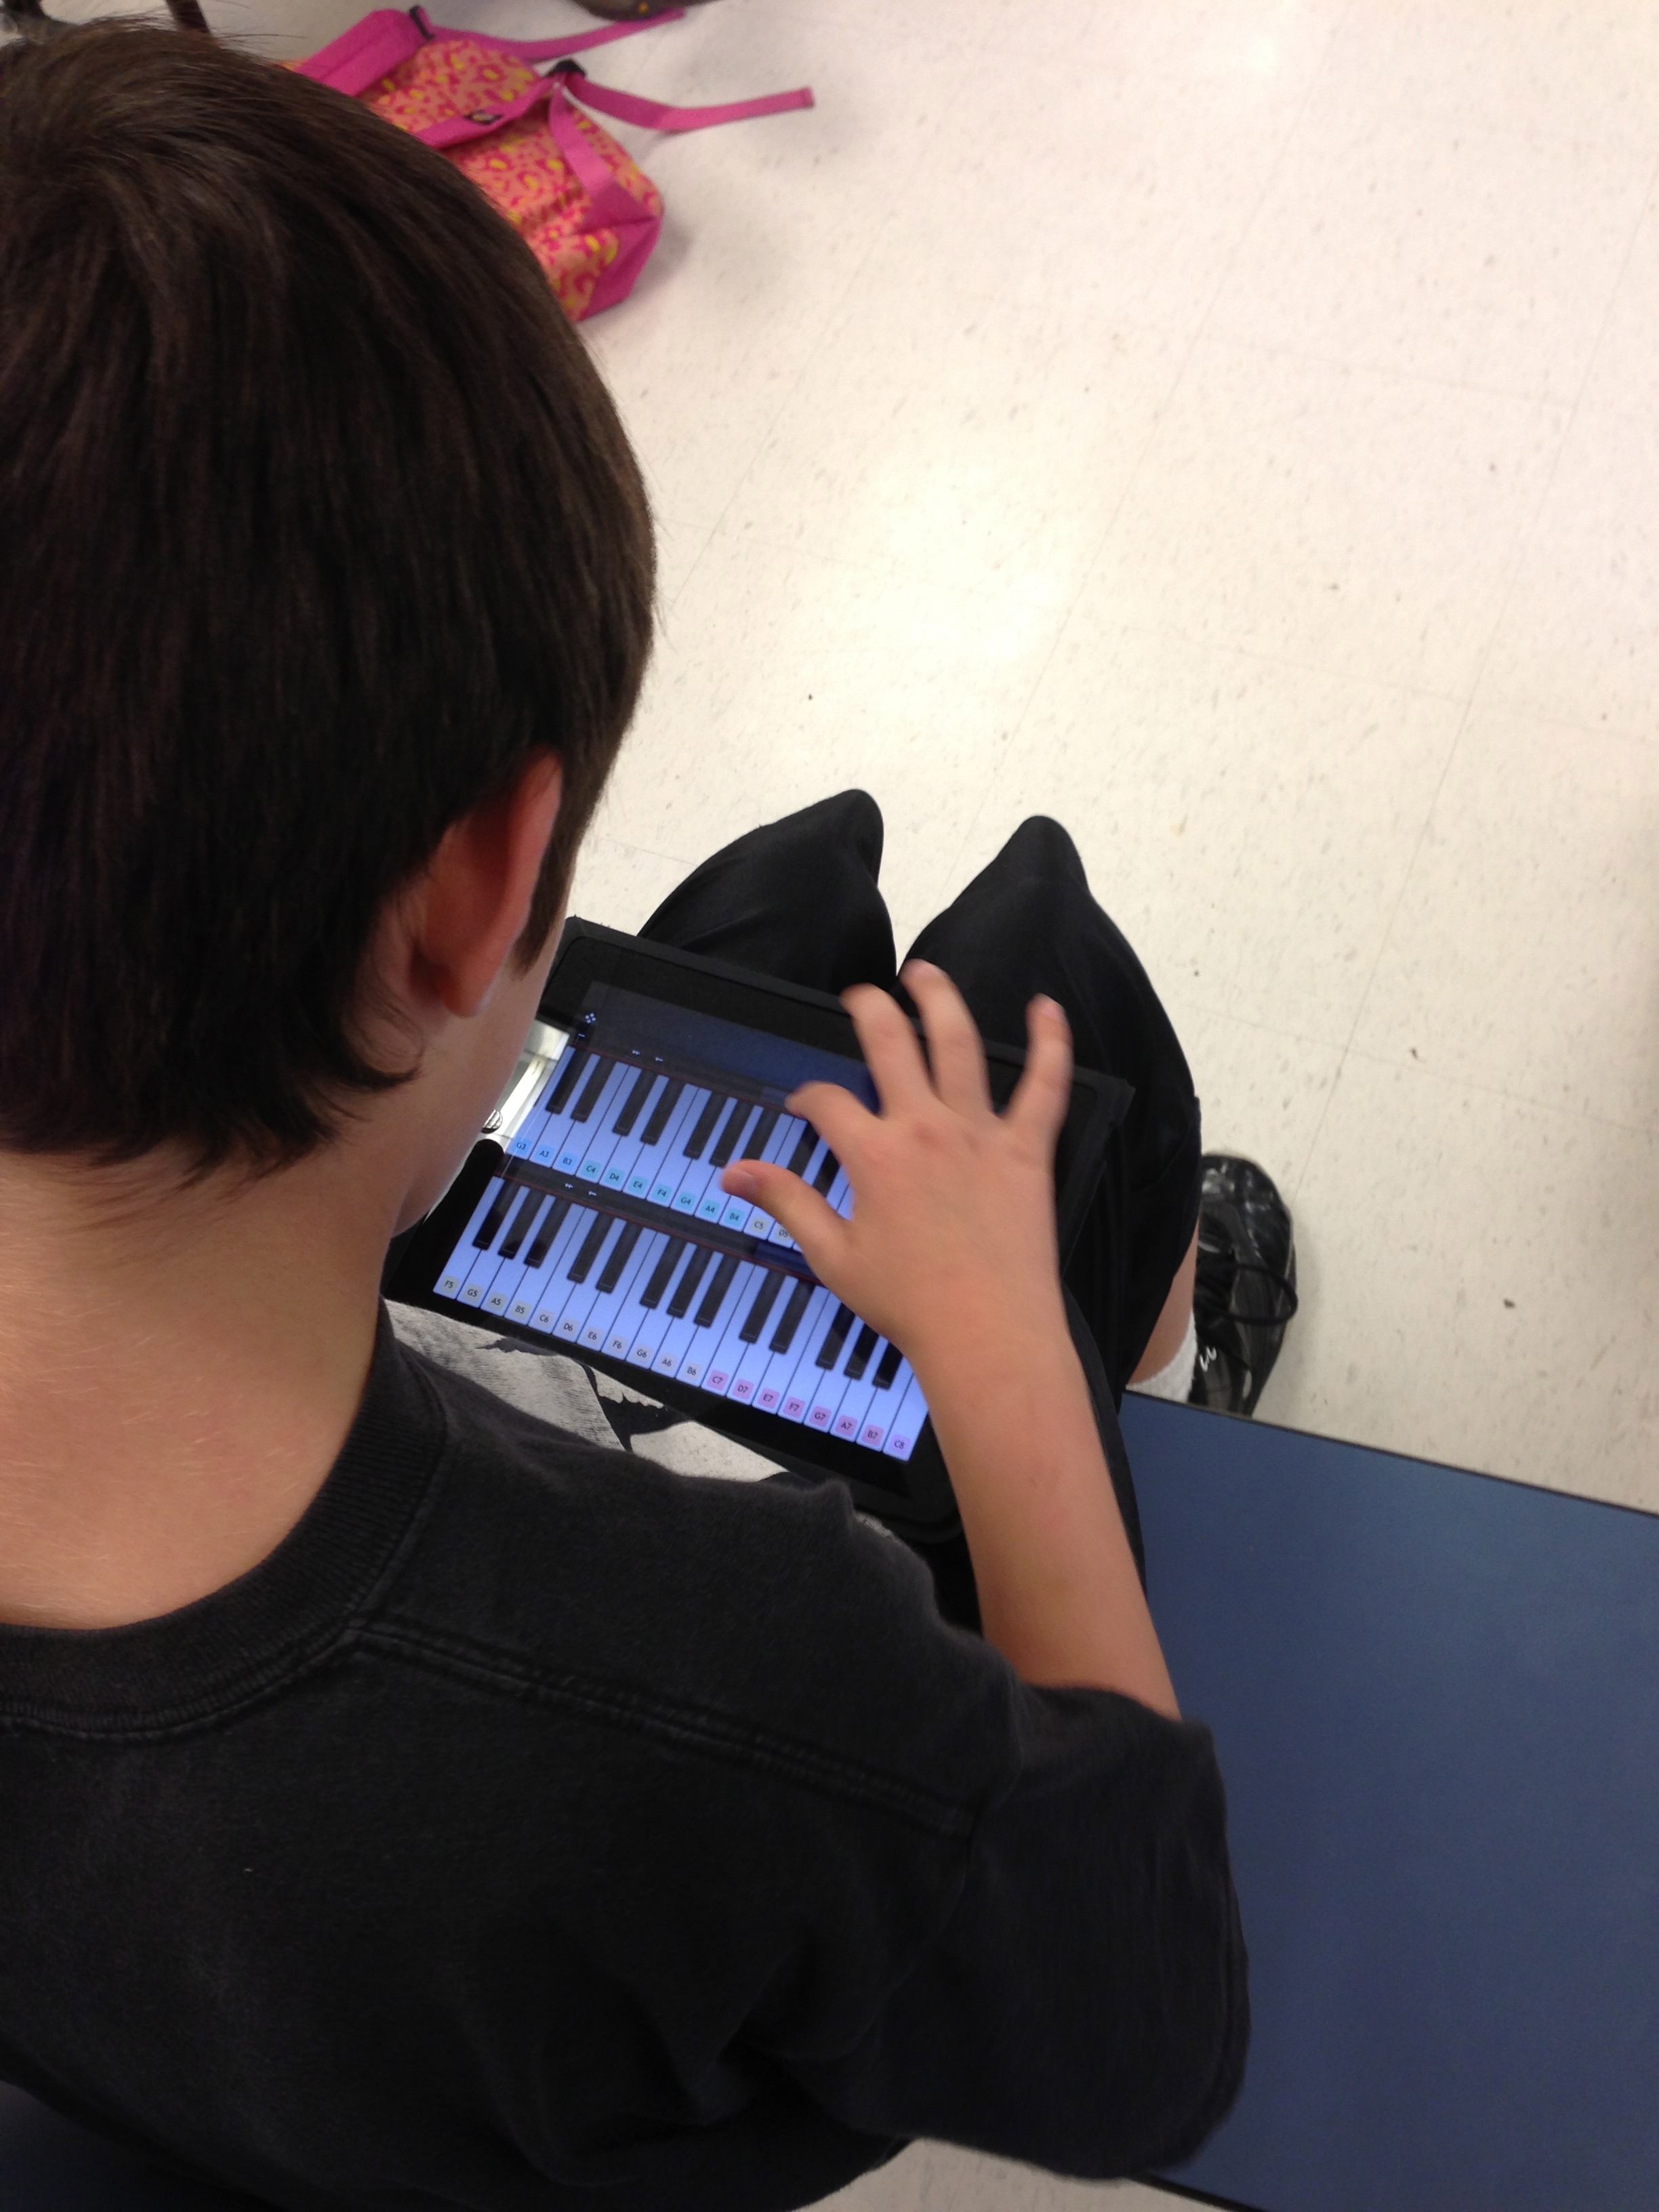
       Lately I’ve had some smart students who realize that I have iPads that are free to use at the end of the day, every day. So they started showing up day after day and formed what I posted before “The iPad club”. After my supportive principal found out about this he came to me and said he would like an iPad band to start up. After talking with the kids, they jumped at the chance and we have a promise of a chance to perform at an assembly this year once a few songs are ready!  

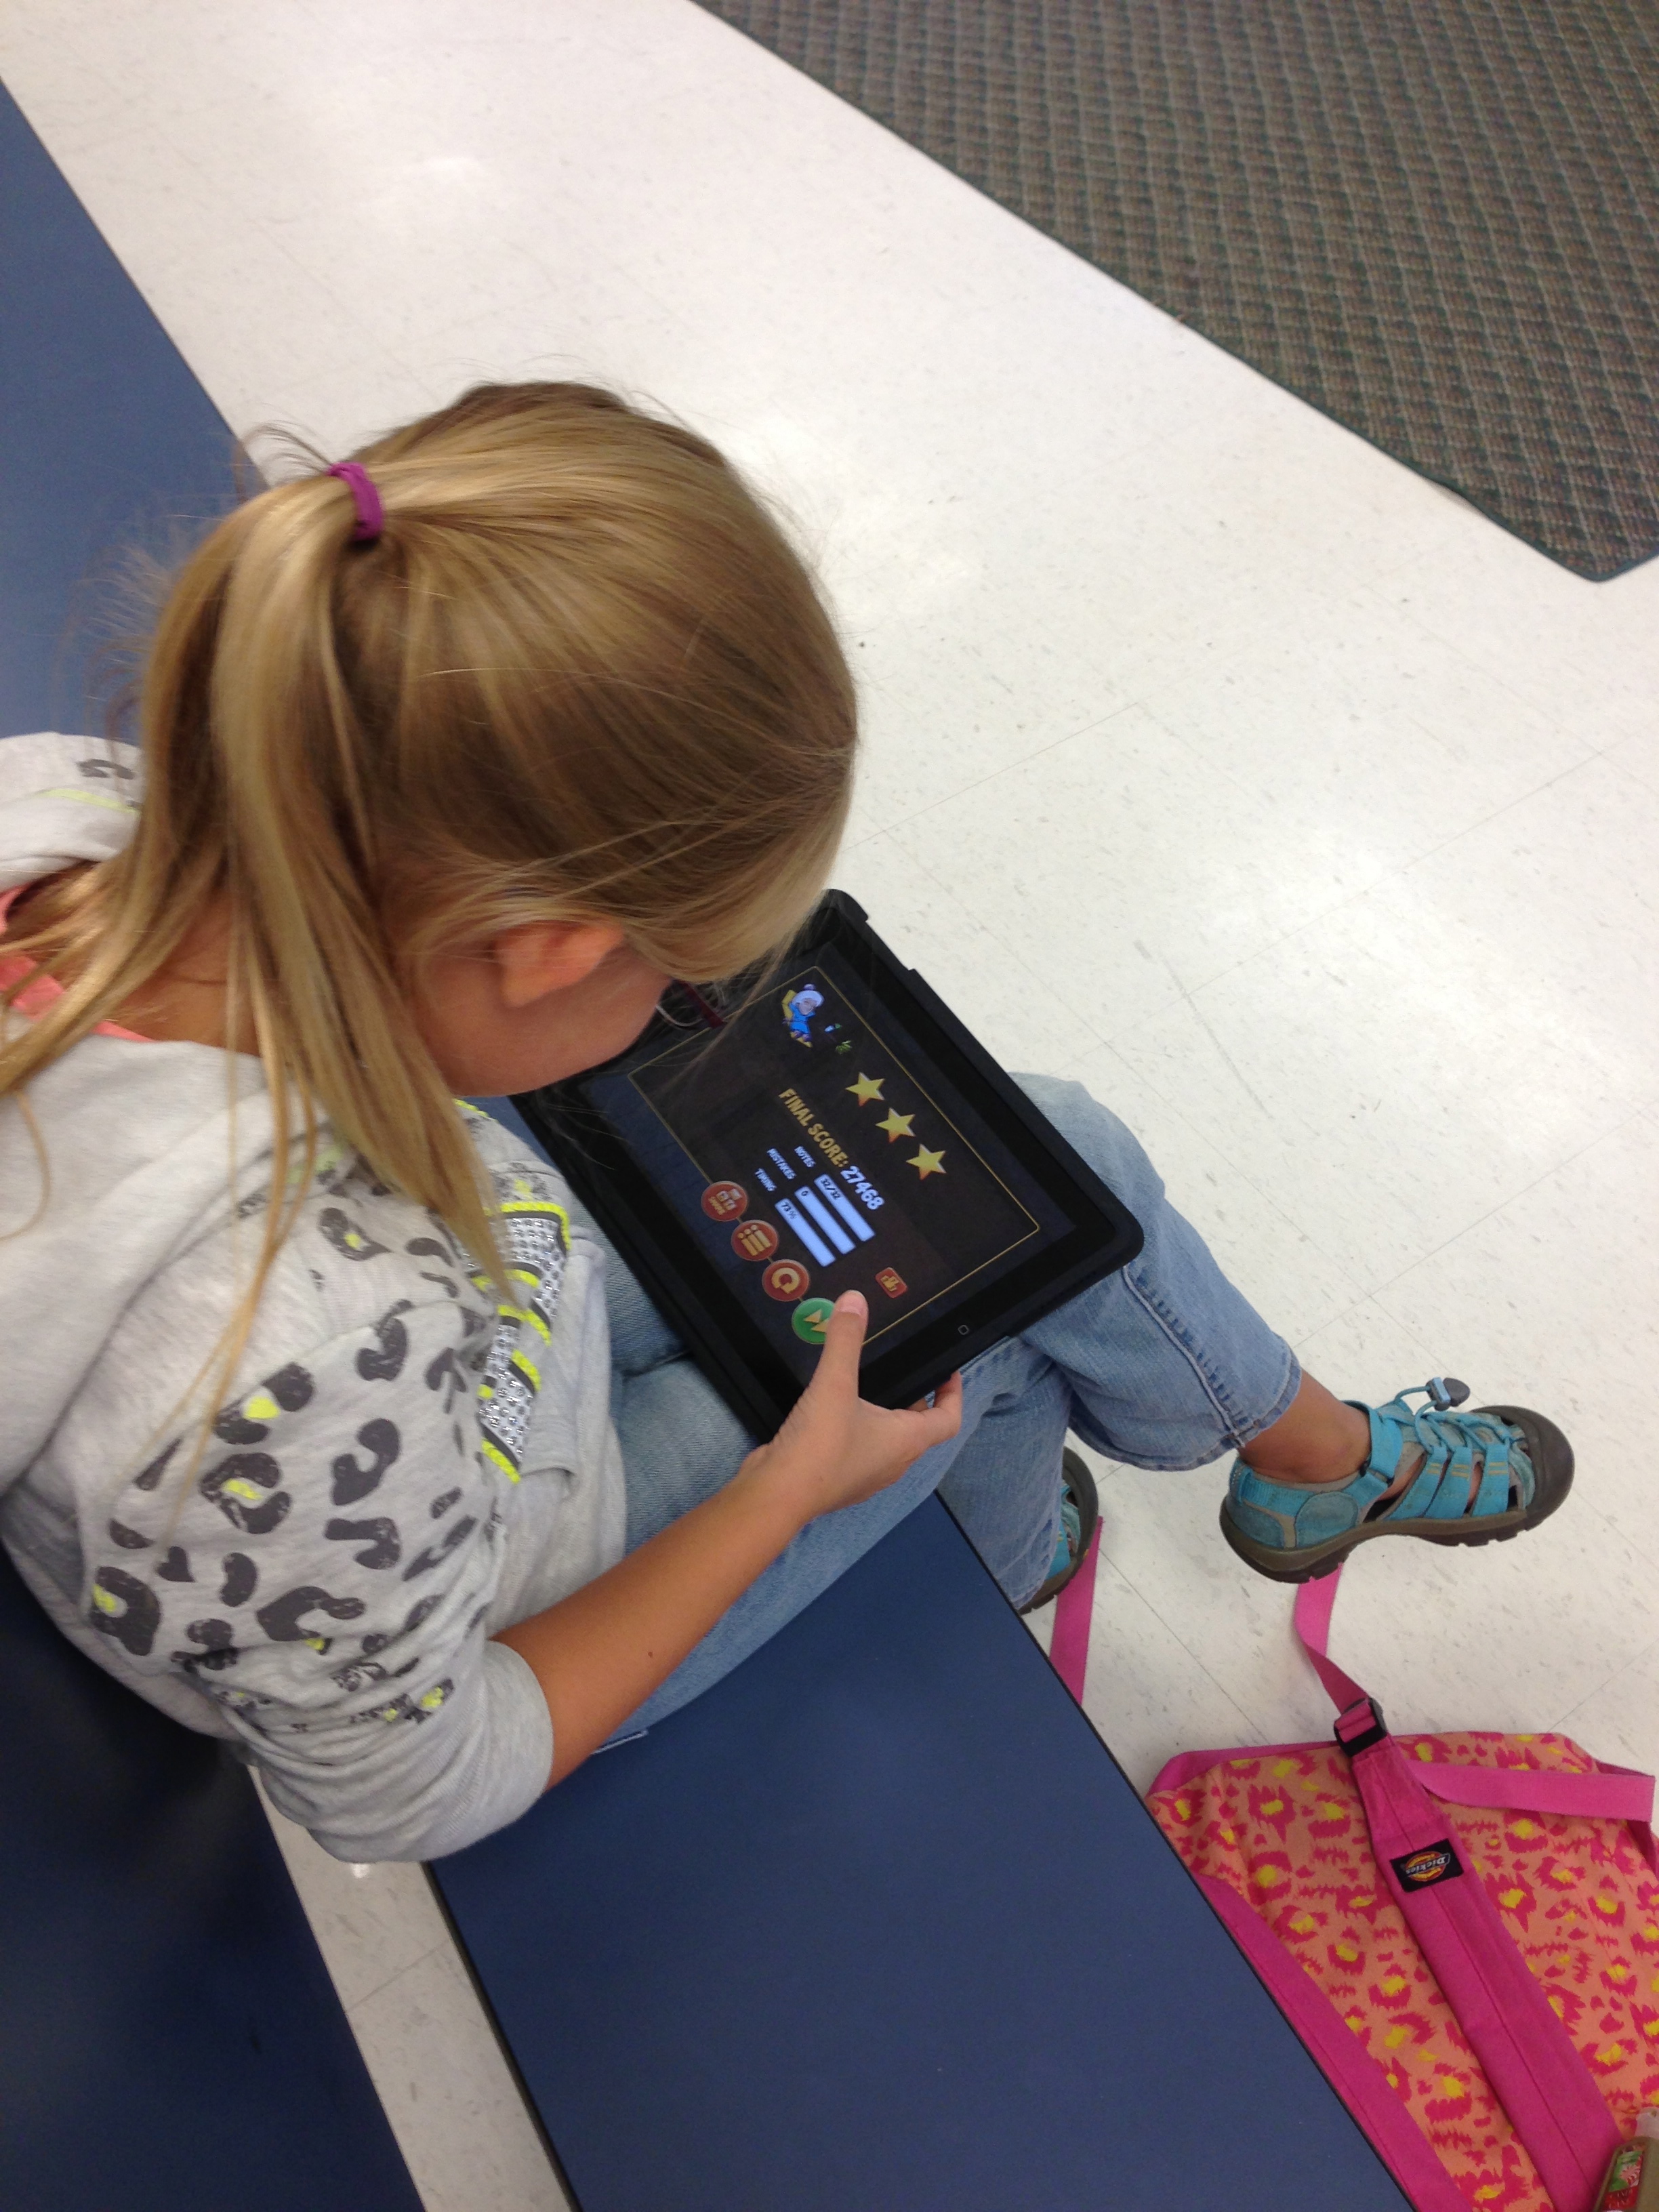
I already had the students for the band, they knew my rules about the iPads and knew how to work them. All this was very lucky for me because I have never started an iPad band before, I still only have half a clue what I’m doing and my kiddos know I’m totally winging it which makes practicing together even more fun! We decided to have formal practices every Thursday in which I would get to choose the app and tell them what I would like them to do. Nothing really complex is necessary because they have to leave when their bus is called but just fun enough where they are playing instruments on the iPad and learning how to play as an ensemble.   I think being able to play as an ensemble using technology is a cool way to promote the same things groups like band and chorus do but with a different flare. The students are still focusing on the music, listening, playing and cooperating as a team, and much more just in a new and exciting way for them. Some of these kids are not in band or chorus so being able to do something like this might be their only chance to.

Some of the apps we have used are:


IMG_1194

We have had a few practices and are learning how to work together as we go. A few activities we have found that work and are fun:

  • Looping warmups: We use Beat Bots and each pick and choose a loop that will work together as a group. This gets the kids thinking about how each one fits and gets them comfortable changing loops up in the middle of a song.
  • Be the star: Taking either Toca Boca or Garageband we each get a loop going and then go around the circle taking turns doing an 8, 16, or 32 beat solo on either a virtual instrument in Garageband or sliding a character onto the star depending on which program we decided to use.
  • Instrument practice: Using Virtuoso, IamGuitar, or IamDrums we practice simple melodies and rhythms together so each student is reading music and learning an instrument.

The students in this group are so completely pumped about it. They have great incentive to practice as well, we were told we might be possibly able to play at a future assembly and were asked to video our first song so it could go up on the school webpage!

   Have you tried something out of your comfort zone yet this year?

IMG_1190

The Power of a PLN

  Wait? It’s Friday? How did this happen? I really had no idea it was Friday until I got up this morning and my mother and sister were so excited it was jeans day! Just goes to show you time flies when you are having too much fun. (Not all fun, my school schedule hates me and I can barely get anything done during the day.)  I’m hoping for more of an interesting and fun week of school next week, I like things that are out of the ordinary and make the week fly by so I can crash on the couch and not get up until Monday. By the way, anybody see the new Teaching Music Magazine for this month?? I’m in it and so excited!!

 When I first started teaching I had only my college professors, my student teaching co-ops, and my colleagues to rely on for advice and motivation through my beginning years. It was really a “lost feeling” because I could email, maybe call, but if I needed an answer asap then I was pure out of luck. Sometimes, I received advice but it couldn’t work in my situation so I had to get creative on my own. That’s when I started to seek out advice past what I knew. I wanted a bigger circle, a circle that was fit with the right people and came from all walks of life, that’s when I found the MPLN (Music Personal Learning Network). Found on Twitter, Facebook, and even Google Plus the MPLN is the ultimate group of thousands of music educators who have banded together in order to support each other and stand up for music in our schools. I have been apart of this great group for so long many of them have become dear friends and the best mentors as I continue my 4th year of teaching.

  The MPLN over the years has:

  • provided almost instant support and feedback on problems I encounter and help guide me through and motivate me to be positive and keep my big mouth quiet when I need to.
  • been an amazing critic to my harebrained ideas, I can get quite crazy with my thinking and my PLN friends help me think through it.
  • given me someone to talk to during my lonely days hiding in my music classroom cave unable to leave because of my schedule.
  • given me creative ideas for amazing projects.
  • let me share what I do, and feel humbled and blessed by so many positive comments about my work.
  • given me opportunities not many other educators receive, especially with presenting at a national level at such a young age.
  • finally given me a strong passion for something that I want to spend the rest of my life doing.
  • made me laugh and smile.
  • shown people here at home that I am more, and I can stand tall.
  • finally, given me a platform for a strong voice for music education and music technology. I am still years away from hitting 30 and because of my PLN I have met amazing people. presented on a national level, have started to collaborate with top-notch companies like Joytunes and Quaver Music, and most of all, been able to speak up and actually be heard. I’ve spent years of my life not having that, having a PLN has given me confidence to say what I need to say and be confident in it.

     Don’t have a PLN yet? What’s your excuse?

Follow me on Twitter at: @musiccargirl14 and start following the #mused and #musedchat hashtags

Search for the Music Teachers Facebook group and join in the conversations with thousands of other members

Or head on over to Google Plus and request to join the Music Education Community! https://plus.google.com/u/0/communities/102610005911356159206

cropped-kokopelli61.jpg

 Start in the conversations and band together with all of us!

Keeping Up with the Passwords

  This week has been nuts. With so many things to do I didn’t even realize it was Friday until today when my students in 4th grade had an amazing time talking to the William Howard School in England for a Skype call. They did fantastic and I was proud to show off my tech skills. A majority of this week I have held our netbook cart hostage for my older grades so they can get acquainted or re-acquainted to www.quavermusic.com so we will be all set for future projects and webquests.

 With so many laws out there for children on the internet, many websites require individual login information that is unique to each student. Now this would be much easier for a class of 15-20 students only, but being a music teacher finding time to organize 600 student usernames and passwords proves to be much of a challenge. This week I had over 160 successful logins to the Quaver kids portion of the website using a few tricks. I now have all of my 3rd-5th graders all set and use to logging in for future projects.

  One trick is always to have the right tools.  With index card boxes purchase from Staples I have halved index cards each student and they are responsible for writing their information down with their name and class. The index cards look like this: 

blogcard

    I have pencils and require each student to write down one card to leave here with me just incase they have trouble logging in next time so I can help them. With email at home a tricky subject in my poverty-low income school area it is hard to do password recovery through email and that is sometimes the only recovery system most websites have. I tell my students “I don’t have a magic reset your password button, you need to be responsible for leaving me your information so I can help you.” Students are allowed to write out another copy of their information to take home. Especially with a site like www.quavermusic.com my students who have computers at home love to take a copy of their account info home with them so they can play Quaver anywhere.

   I have each class set of cards bound and separated by tabs. Each class has their own set of cards that I use a paperclip to bind them together and then as I put them into the index card case I separate each class by tab for easy and quick access for later. When I need them I take the class set out and place them on a desk for students who need their information to come up and grab their card. We always talk about how it is not nice to sign into someone elses account and that all cards need to be returned at the end of each class. I have yet to have a problem with hacking or lost cards.

   When setting up accounts a lot of students have trouble getting creative with usernames and passwords. I always tell them:

  • There are NO spaces in a user name or password
  • Get creative with your username! Somebody already has “butterfly” or “football”. When stumped just use your favorite animal and number!
  • If you have trouble remembering your username or password make them the same!

   Remember to always be diligent when a class is logging in as well, a lot of students will have issues regardless of how much prep you have done or how organized, patience with them is a virtue!

blogcardbox

My card box all filled and organized!

How do you help your students log in  so they can create music?