Guiding, Engaging, Making

It’s Spring Break week for me. I’ve spent the week getting caught up on life and preparing for the last sprint to the school year finish line in June. It’s been a long and wonderful year already and with the last few weeks ahead of me, I cannot help but reflect and renew the learning environment in my room to provide students with a stable and solid place to finish the year loving, creating, and enjoying what music is all about.


Have you ever really reflected on your teaching? How many times have you looked around and seen a room filled with students ready to learn, finding the art of discovering and problem solving fun?


I know I’m not the only one guilty of showing my students to the objective instead of guiding them. We all have those days. What is the difference between leading and guiding? Showing your students entails lecturing, telling, and expecting only one answer. Guiding is asking questions, letting students discover, and showing them there are more ways to come to the correct point of thinking.

To be a true leader in your classroom makes students want to learn, keeps them engaged and thirsty to continue to make themselves better without you constantly standing over them holding their hand showing them the way.

Here are some ways I’ve seen some leaders in education guiding, engaging, and helping their students make their learning environment amazing:

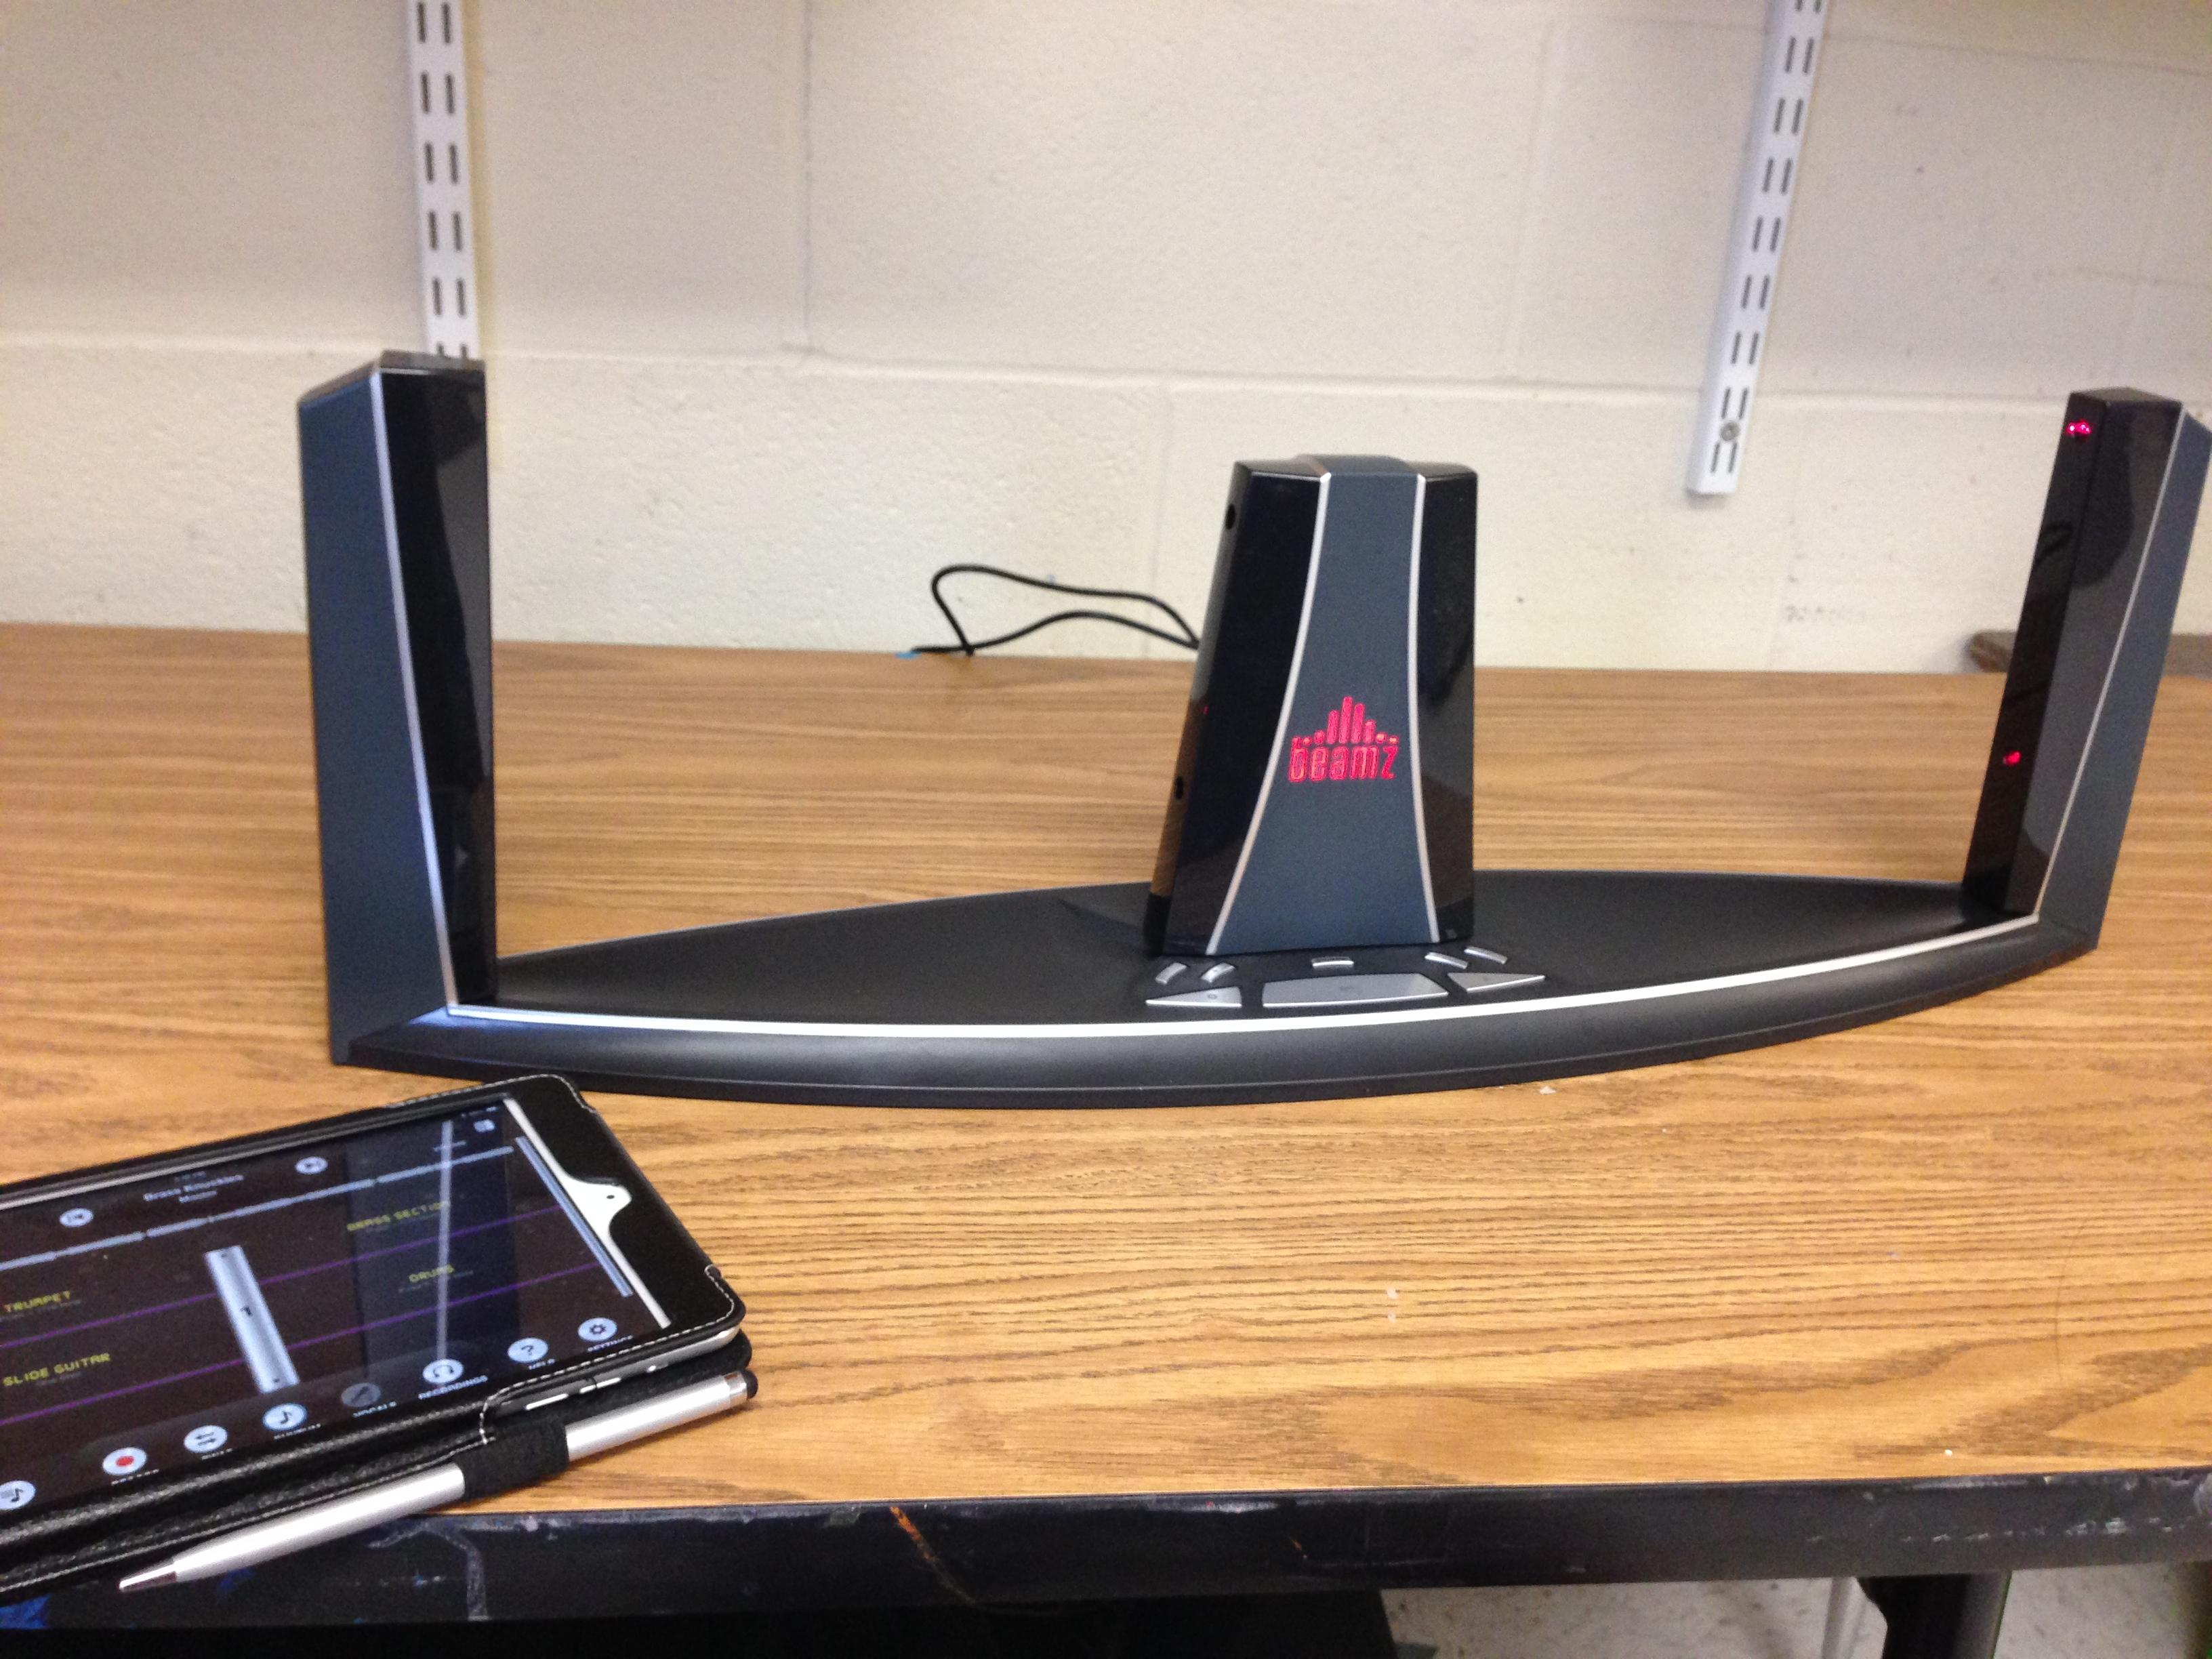
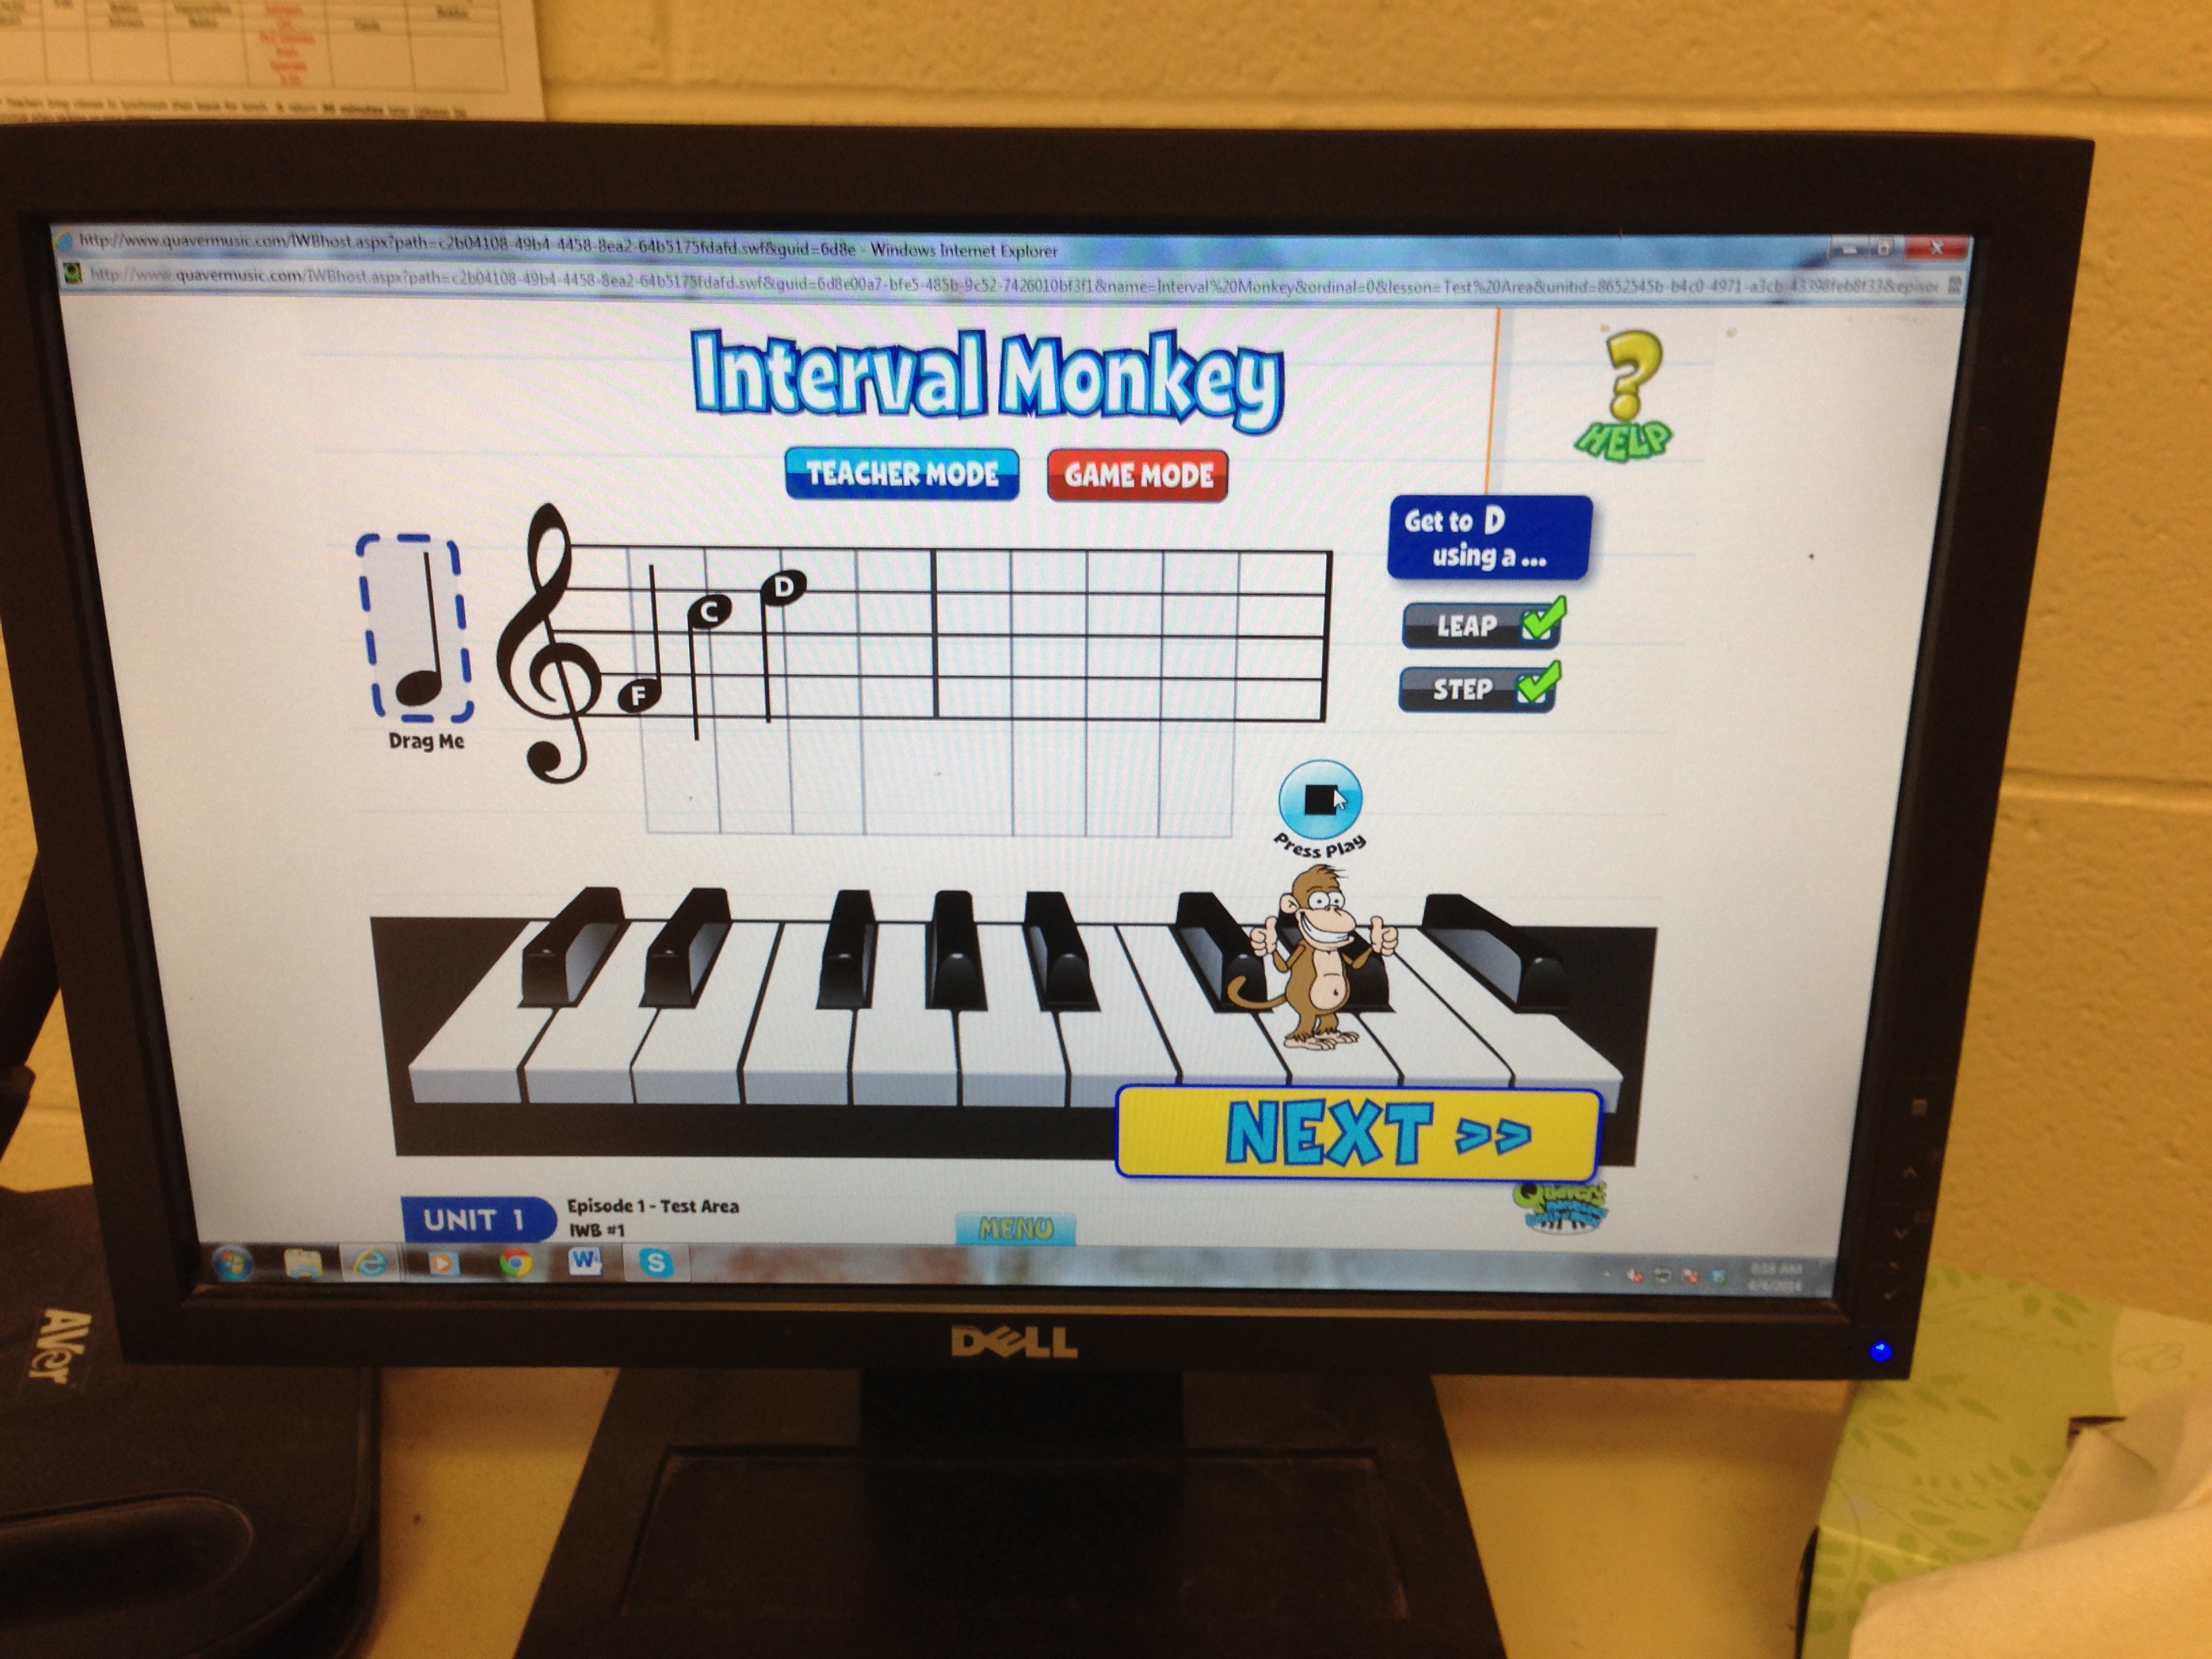
  •    Technology – A tool to engage, A tool to organize, a tool to make life a little easier. When used in the right way, it becomes a meaningful experience that students can remember for a long time.
  •   Asking questions Let the students do the thinking, informally assess their knowledge.
  •     Building and Making- Letting students get hands on with their learning. Build products, problem solve, and get creative. You see a lot of this with STEAM lessons in classrooms, Makey Makey projects, and so much more.
  •     Centers –  Independent learning, you give them the goal and let them work towards it as you wander around the classroom guiding students to the outcome.
  •     Playing Instruments- True in the music classroom, being hands on, creating and reading music, all the while having your hands on an instrument.
  •     Projects-  When you give the minimum requirements and encourage to go above and beyond, it opens up new worlds of discovery and gives the students choice and leadership over their learning which in turn engages them.

  How do you consider yourself as a teacher? Do you show and tell or do you guide and engage? What things do you do to build a successful learning environment in your classroom?

IMG_0548

Creative Customizing with the Quaver Curriculum

  It’s been a heck of a week. Spirit week + Full Moon + Week before break = complete and wonderful chaos. It hasn’t left me much room to breathe much less make sure my lesson plans and materials are all in order. As we move into break around here I know I’ll be thinking about ways to finish out the year with my students and a full year using this amazing new Quaver curriculum. So I turn to their new customizable lessons feature for creative guidance and perfect organization!

   I’ve been using the Quaver Curriculum since September with some great results. The students have really taken to the new activities, songs, and overall cheery and positive feel to the program. I’ve mostly been using it organically lesson by lesson to see how it works and occasionally adding my own materials to it but not imputting them straight into the lesson. The lessons have been great, but as I go on with the year I started to want to put my materials straight into the lesson slide show itself. With the new Customize button I can now do that!

 2

    This button is a complete new lifesaver, especially since I can be very OCD when it comes to being organized and I always felt very weird trying to put together plans that involved other materials and figure out how to manuever from one thing to the next. Now I can put everything in one place. This button allows me to be anywhere and lesson plan as long as I have Wi-fi. I’ve lesson planned on a plane, I’ve lesson planned while excercising, I’ve even lesson planned while backstage waiting for my cue for a play. It has come in pretty handy!

    When I click on the button, it shows me all the screens for that lesson I can work with.

 4

    My schedule is very difference from that of a normal music teacher so I actually get to lessons at different times of the year compared to a normal teacher. The Remove slide feature has been a big help at taking away holiday themed songs and slides, especially when a Thanksgiving song pops up in January! It is also great for when you do not want to be jumping around from slide to slide and require a very sleek and flowing presentation tool for your lesson. You can also move slides around, I sometimes take a few extended activities that would fit perfect into my lesson and slide them up a little further looking closely at quick activities that would be great ways to start the class, or I could take a longer activity and slide it closer to the bottom of the lesson saving the best for last.

     My main reason for talking about this fancy Customize button is the New Screen feature.

 3

       Isn’t it pretty? This allows me to add in content I’ve created before on my own into my presentation tool allowing my entire lesson to be in one organized place helping with lesson flow and really overall class management.

  •        With the YouTube button I can add in video from my playlists I’ve already built ( Find my playlists here.) Just like with Safeshare.TV, Quaver cuts out the comments and extra videos allowing the user to just see the video you want them to see. I use a lot of video examples for instrument examples, orchestra performance, and I have a large list of Movement Break videos that students dance too if we have an extra minute or two at the end of class. I put those video straight into my lesson so I do not have to go searching through YouTube!
  •        The Audio button, I do a lot of recording in class, and saving the MP3s straight to my computer or Dropbox allows me to put those examples straight into a lesson. It turns them into a listening activity for the class come the next period.
  •       I think Document is my most used. My district is pro Responsive Classroom which asks teachers to have a morning message up on the board for the students every morning. I write mine in word and put them into every lesson I do via the Documents feature.
  •       Web Link lets me take websites that I already use on a regular basis (let’s face it, TI:ME Teacher of the Year, I use a lot of websites as tools to help me teach!) and links them straight into my Quaver lesson. My favorite two links I’ve put into lessons so far are Incredibox and Young Persons Guide to the Orchestra .
  •      I have TWO more large shows to get done before the end of the year and a big project with my 5th graders! (We are working on the Commercial Project!) The Checklist makes me never forget if I have something to say or announce. Lately I’ve been using it as a reminder of what songs I will be practicing with my students that week!  

     All of this can be found inside the rocking Quaver Music Curriculum. If you use Quaver, what kinds of things do you do to Customize your lessons? How do you make a tool like this your very own?

Playing Music with Light

 Back at last school for the year! Yay! No more moving around!! I cannot tell you how difficult it is to pick up and move all of your things from school to school every marking period. It truly burns one out very quickly. I’m at this school until the end though and couldn’t be more excited!

  This week I’ve put a lot of focus on a new tool I’ve acquired for my classroom called the Beamz. It is a midi laser controller mainly for use with the Beamz app or software to create and interact with music samples. The device has been used from a piece of DJ equipment to a therapeutic device. I was blessed enough to get two for my classroom to try out and see what I really could do with them.

 Beamz

      How it operates is you can either use an iPad or plug into a computer. Each connects the controller to the Beamz control board where the samples will play from.

    If you connect to a computer:

  •      If you have a PC you must download the software first before you use it.
  •      If you have a Mac it is plug and play.
  •      Using the cord provided plug the controller into the USB port on the computer with the other end into the unit. This will also power it up. Make sure the switch on the back is also set to Midi.

      If you connect to an iPad:

  •      Turn on your Bluetooth and download the Beamz Interactive app which is free at the app store.
  •      Plug the controller into the wall using an iPad charger block from the iPad you will be using. This will power up your device.
  •     Open up the Beamz app and make sure you have the volume up to hear the samples as they play.

       In the control board it will give you one instrument for each of the 4 light beams and each instrument will sound when your hand breaks the beam. You can add a rhythm to the background, switch instruments and even record yourself!

           Check out a little intro video I did:  My Beamz

        Now this device was first meant to speed up therapeutic outcomes, as a DJ instrument, and as an alternative instrument for multiply handicapped people but my goal is to find out what else I can use it for in the regular classroom.

  • I’m using as a center station, two people at a time hooked up to an iPad recording and creating their own tunes.
  • This would be a great device to use in a STEAM activity talking about how light works and hacking it to use as a normal keyboard or controller sort of like how the Makey Makey works.
  • Talk about how awesome this would be as a way for students to mix their own background tracks for original lyrics!
  • How about a dance party? Change up the tempo and talk about moving fast and slow or even turn the volume up and down and have students change movements.
  • This would be pretty awesome to add into a traditional ensemble.
  • You could even talk about duets, trios, and quartets having 1 student for each beam playing their own part!

      Endless possibilities right? I sure am excited about it and have found time to really get acquainted to the instrument myself. My Mom is using one of my controllers at her school this week and we have seen some really cool results!

       For more information and where to purchase check out www.thebeamz.com

Quick and Easy Centers

I am in the middle of moving schools and helping out with our high school drama production of Brigadoon by playing the bagpipes for them. It’s been a heck of a month and I have a sinking feeling it’s only going to get busier from here.

As this is my last week at my current school I decided to do some quick and easy centers that required little to no equipment so I could let the students have fun while I made sure my room was packed up and ready to go and my grade were done. Each is musical related and is a very simple activity the students can complete in 5 minutes or 15

photo%201

Cuptastic (Materials: Cups)- Take one cup and now you have a choice, either practice the cup song from the movie Pitch Perfect, or, create your own killer cup routine. Share your work with your friends when you are done.

photo%201-1

Freeze Dance (Materials: Speaker, iPod, Freeze Dance the app) Time to boogie! You can either play for outs or play for fun. All you have to do is choose a song from the playlist and get dancing! If you play for fun take turns choosing the song, if you play for outs, choose someone fair and trustworthy to be your judge. The app with take care of the starting and stopping all you have to do is FREEZE!

photo%202

Interval Monkey (Materials: Interval Monkey IWB activity in Quavermusic, iPad with Splashtop app) The monkey needs to jump from one note to the next, but you need to help him figure out how. Look at the list of what you need to help him get from one note to the next (Step, Skip, Leap) and help him by placing the missing notes in the right spots. If you get it right he gives you a thumbs up, if you get wrong he falls over!.

photo%202-1

Music Video (Materials: Video Camera) Create a scene as a group about why music is awesome, be appropriate, make it meaningful. Record your scene before time is up!

               Simple, easy, and not a lot of materials. Made life fun in my classroom for the last week!