So I am pretty excited, I have moved to school number 2 for the next quarter and have found time to actually start playing with some really cool new tech tools to use in the classroom! I cannot wait to start using them and I am very sure I will be blogging about them soon!
Last week I composed a blog about using Bluetooth as a way of sending music to an output devices as a way to use your device and move around and not have to stay connected to a cable at the front of the room. This week I wanted to show you how I use my Apple TV for the same purpose but instead of sending music I send visuals from my iPad that can be projected to the screen so the whole class can see. You can use new apps like Reflector to do the same sort of thing but I rely on my Apple TV because it is easy for me to connect and reliable with my wireless network set up at my school.
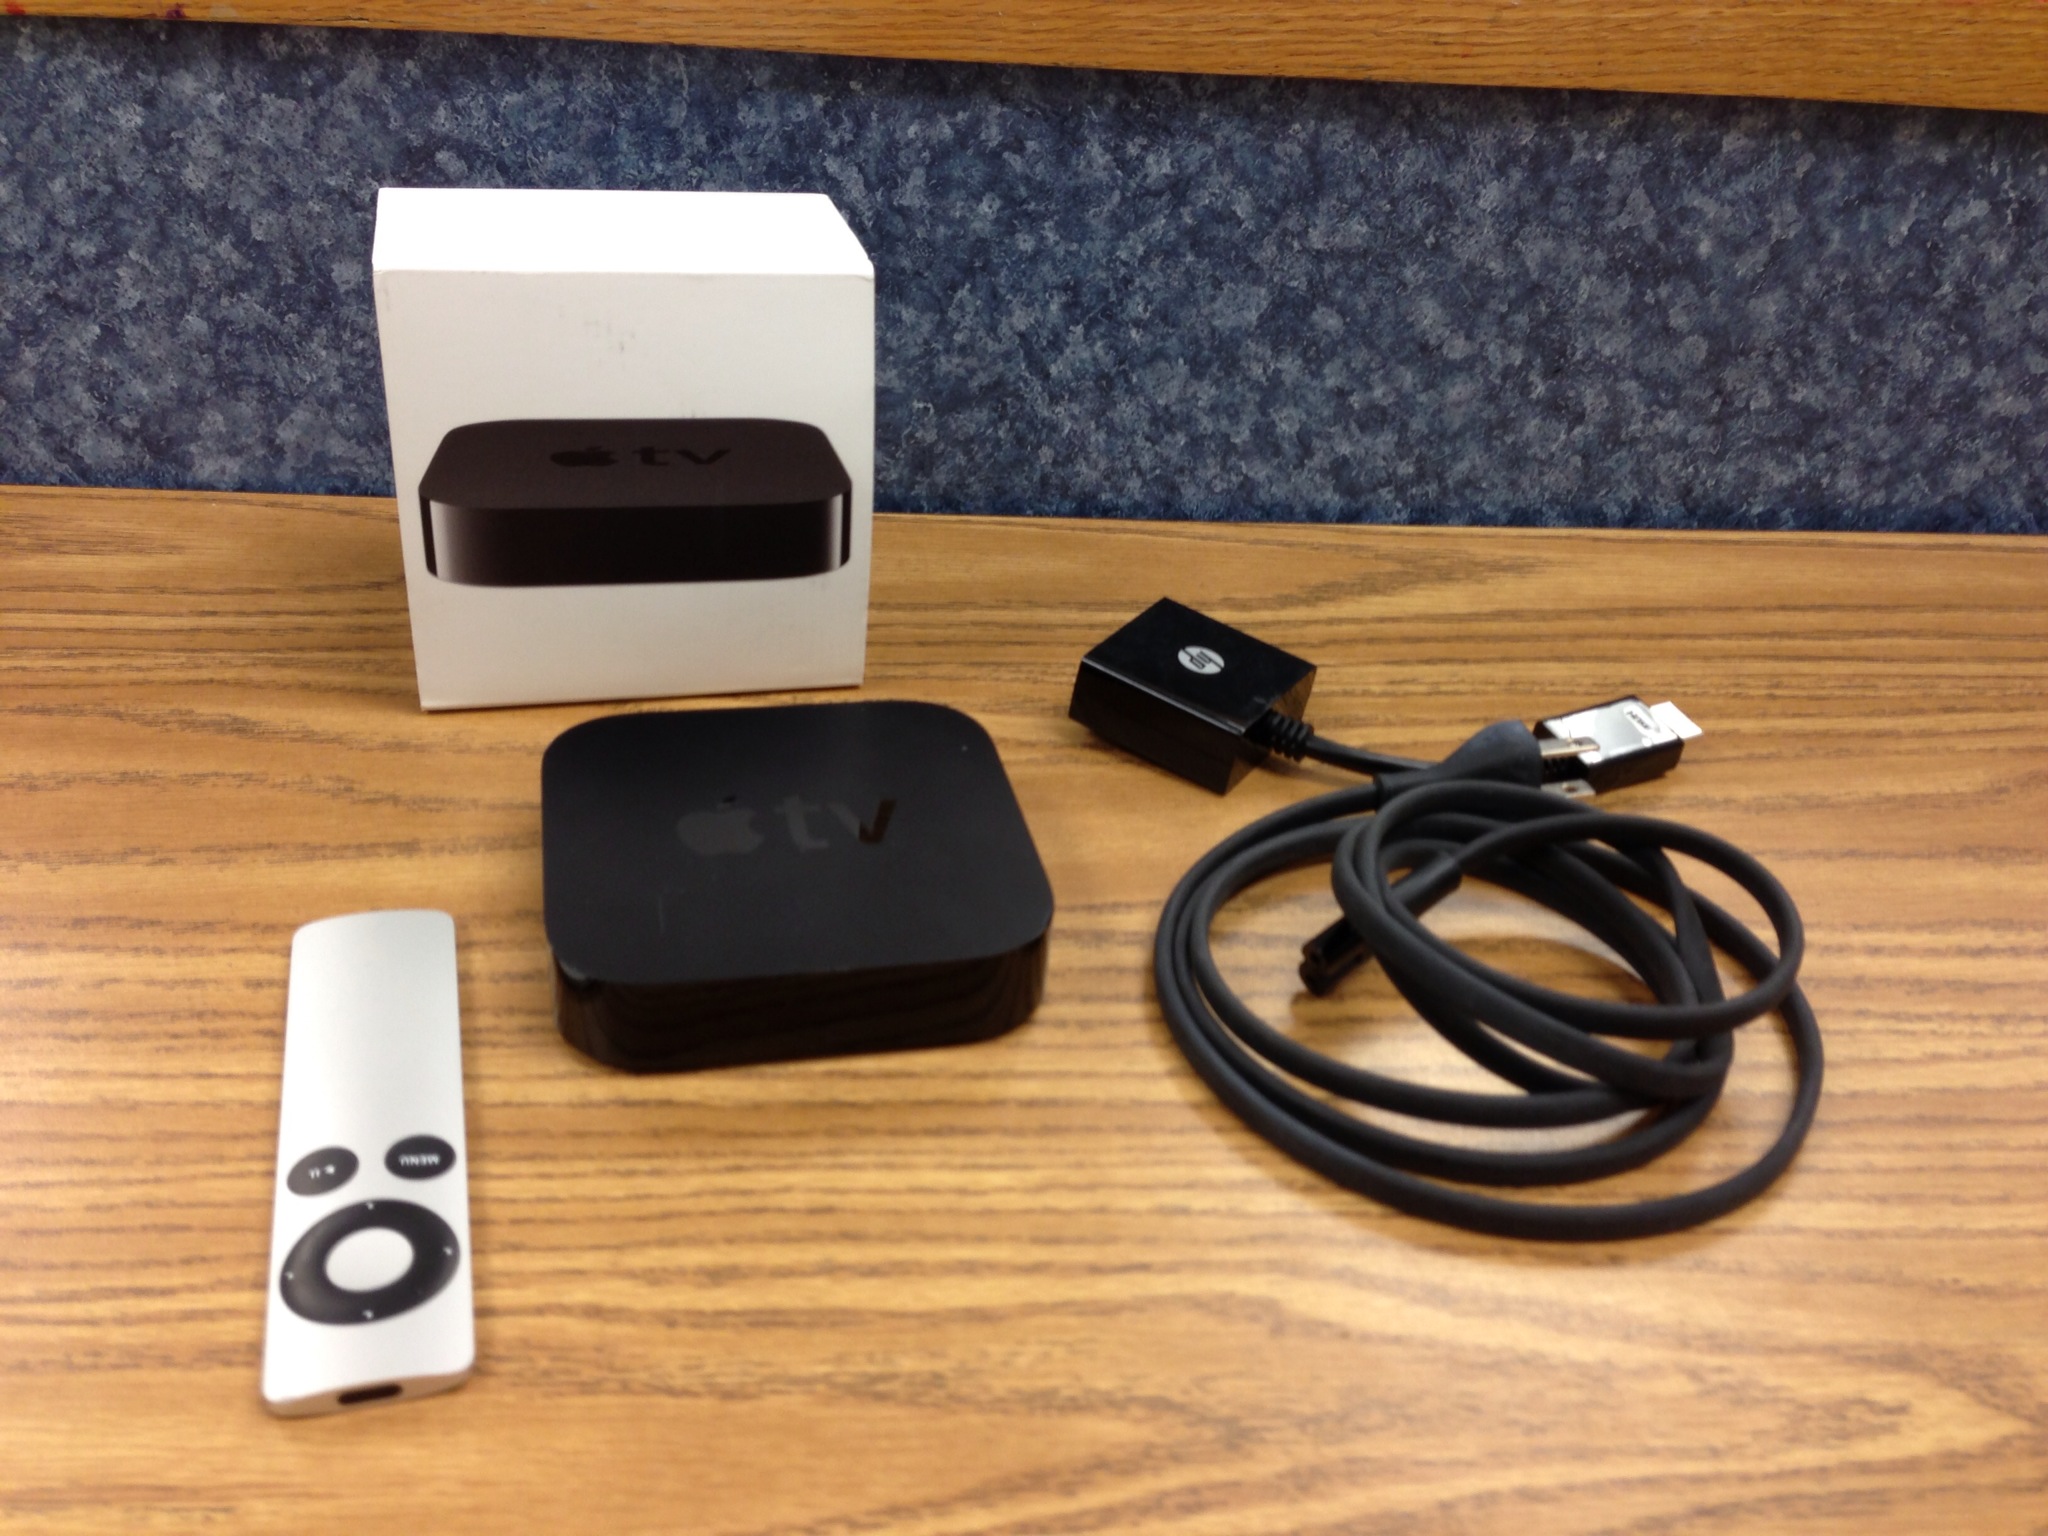
To set up your TV at school you first need to figure out, Do I have a projector that has an HDMI setup? Do I have a projector that has a VGA setup? Or am I using a TV? I have a VGA projector so I need a video converter box I bought off Amazon for about $30. This box allows my video and audio to be converted so it can play on my VGA projector.
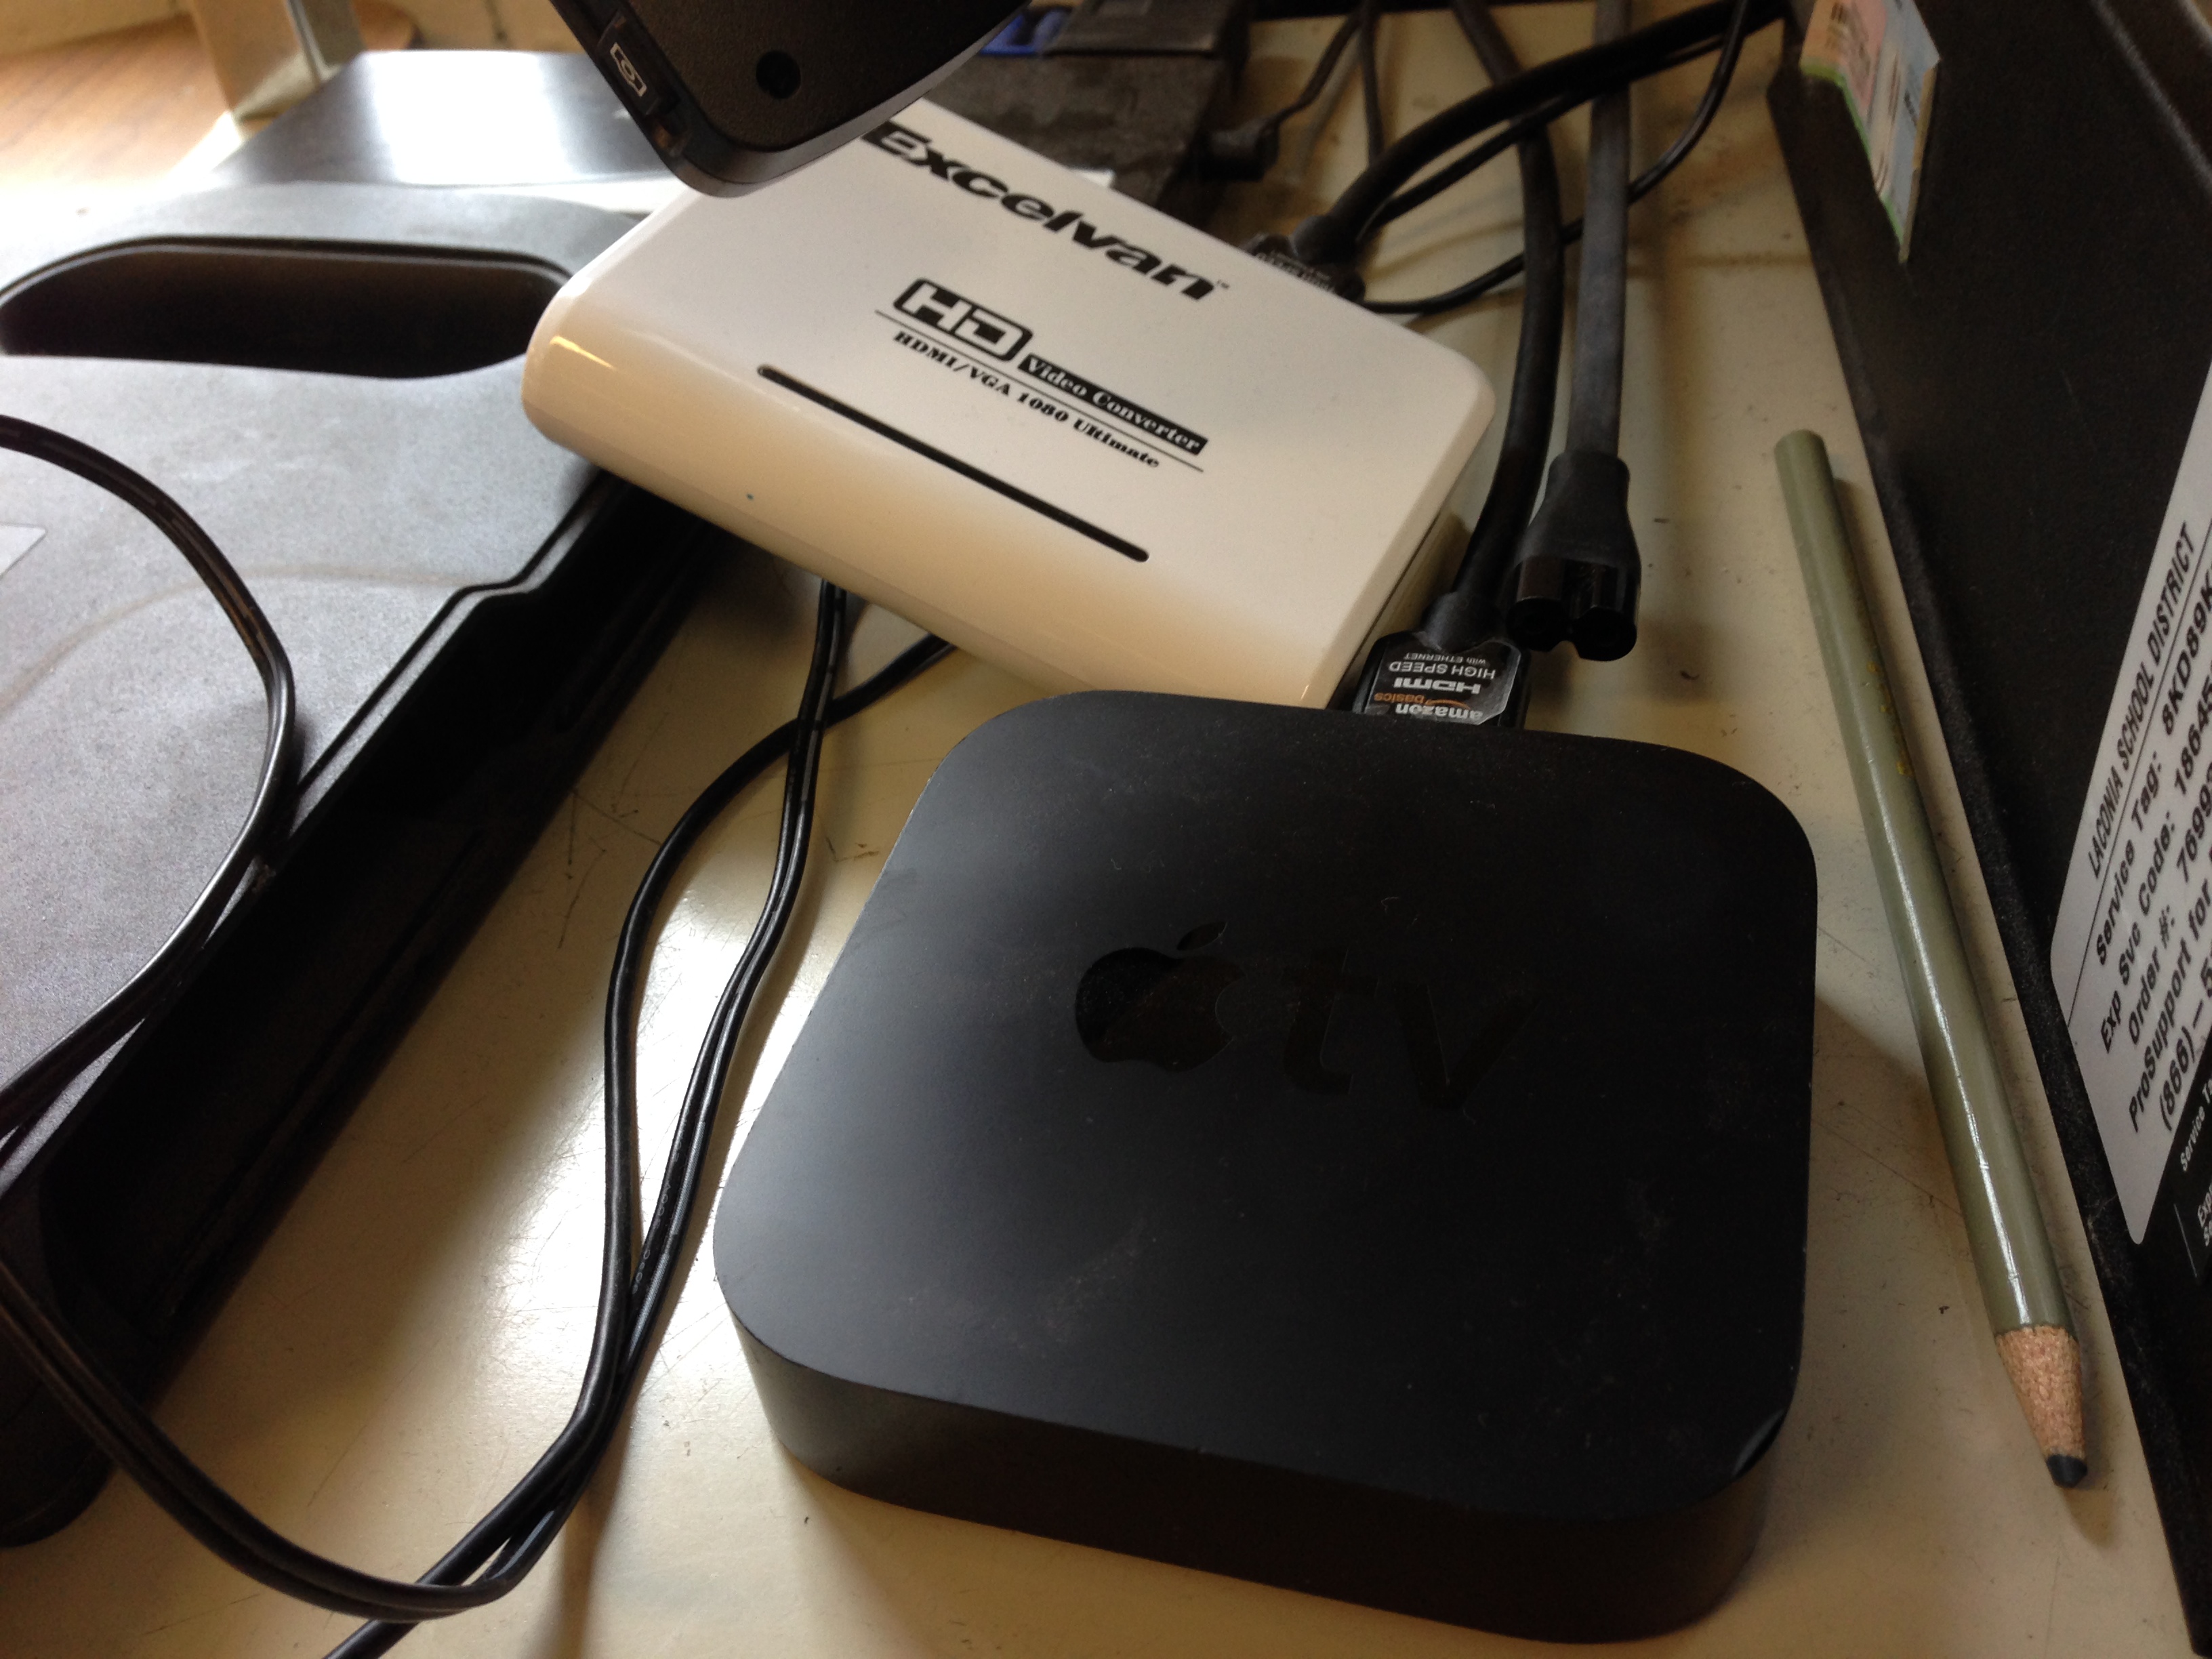
Into that box I need to plug in the HDMI cable from the Apple TV, the power cord, the VGA cable to the projector, and the audio jack from the back of the computer. Once those are plugged in and the power cable to the Apple TV is plugged in the TV should turn on and be visible on your projector screen. After you are connected using the remote you can navigate the screen to connect your Apple ID so you can play your music, connect your Youtube ID to play your playlists, and my favorite, you can mirror your iPad to the screen using Airplay. There are two ways to turn on Airplay depending on the iOS you have running on your device;
iOS6 or earlier: Double click the home button and swipe all the way to the right to get to the Airplay menu. Touch the Airplay button and select the device you want to connect to. After hit the toggle switch to turn on mirroring and your iPad should then be visible on the screen.
iOS7 or later: Swipe using 1 finger from the bottom of your device up to reveal the tool menu. Right next to the button that is labeled “AirDrop” should be the Airplay button. Hit that button and select the device you would like to connect to and do not forget to turn on the toggle button to turn mirroring on. After your iPad should be visible on the projector.


After you have connected your iPad you can now walk around the classroom and show your students exactly what you are doing on the iPad. This is great especially for classroom management. I can be teaching from the floor next to some of my favorite students and not have to stop class to keep my favorite students focused. It is also great for 1 iPad classrooms! All of the students can see and share the one using it sort of like a Smartboard Slate.
I use this tool a lot when teaching from my iPad, my students love to use Toca Boca Band, Garageband, Dolce Music Flashcards and I have all kinds of instrument apps we can use together.
This tool helps me replace a Smartboard. I do not have one in my classroom so my Apple TV is a cheaper solution!
Do you have an Apple TV? How do you use it with your students?
